

The short version
Sharpening a mower blade is a thirty minute job with a vise, a file or bench grinder, a socket wrench and a way to check balance. The sequence is the same on every walk-behind mower: make the machine impossible to start, remove the blade, sharpen the cutting edge, balance it, refit it the right way up and torque the bolt.
The hard parts are not the filing. They are the safety steps before it, the balance check after it, and knowing when a blade is too worn to sharpen. This page covers all three, and it stays on maintenance. Choosing a mower or discharge mode is covered in other pages such as our mulching, bagging and side discharge comparison.
Why a sharp blade matters
A sharp blade slices grass cleanly across the stem. A dull blade tears and bruises it. The torn tips dry out, turning the lawn a pale, frayed grey-brown a day or two after mowing, and open wounds in the leaf give disease an entry point. You can see this by looking at a cut blade of grass: a clean cut is flat, and a torn one is ragged and split.
A dull blade also makes the mower work harder. The engine or motor has to push through grass instead of cutting it, and that costs fuel on gas mowers and runtime on battery mowers. Mulching performance falls as well, because a dull blade chops clippings into larger, uneven pieces that clump on the surface.
If your lawn looks uneven even though the deck height is level, or you see strips of uncut grass between passes, check the blade first.
Safety before you touch the blade
A mower blade can injure you even when it is stationary, because the edge is sharp, and it can cause serious harm if the engine or motor starts while you work. Treat the preparation as the most important part of the job.
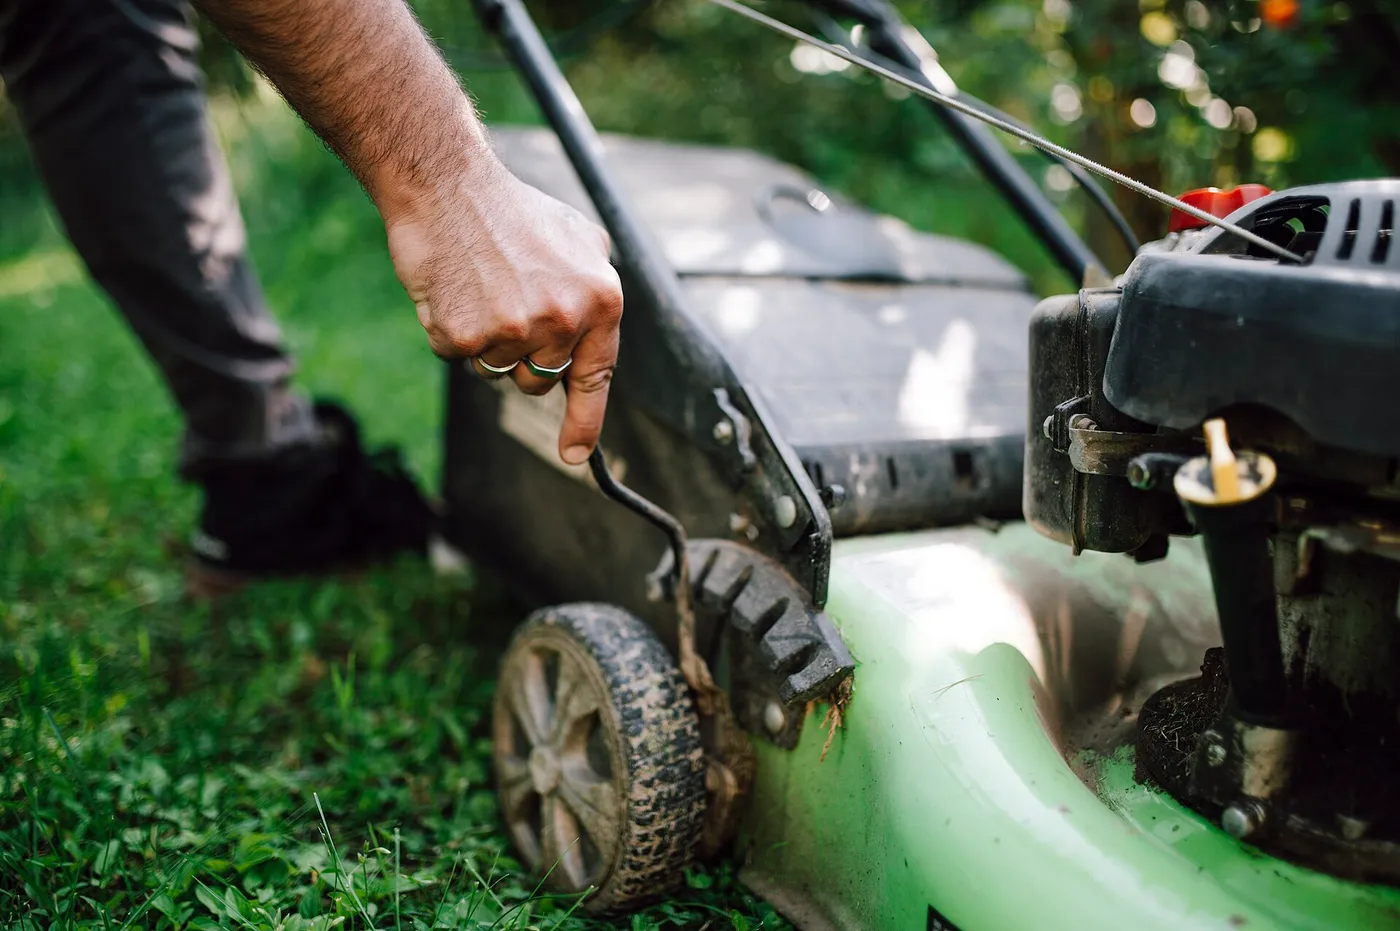
- Gas mower: let the engine cool, then disconnect the spark plug lead and tuck it away from the plug so it cannot touch. Some owners also close the fuel valve if the mower has one.
- Battery mower: remove the battery pack and, if there is a safety key, remove the key as well. Store the pack away from the work area.
- Corded electric mower: unplug it.
- Wear gloves and eye protection. Cut-resistant gloves help, and safety glasses protect from metal filings and sparks if you use a grinder.
- Work on a stable surface where the mower cannot slide or tip unexpectedly.
Tools and parts you need
| Item | Purpose | Notes |
|---|---|---|
| Socket wrench and extension | Remove and refit the blade bolt | Size varies by mower, often 5/8 or 3/4 inch |
| Block of wood | Jam the blade to stop it turning while you loosen the bolt | Or use a blade removal tool |
| Bench vise | Hold the blade while sharpening | Clamp it firmly, edge up |
| Mill file or bench grinder | Restore the cutting edge | File gives more control, grinder is faster |
| Blade balancer or nail | Check balance | A nail in a wall works |
| Torque wrench | Tighten the blade bolt to spec | Torque value is in the manual |
| Wire brush and rags | Clean grass and rust off | Easier to inspect a clean blade |
| Marker | Mark the underside of the blade | Helps you refit it the right way up |
Removing the blade
With the mower disabled and tipped as the manual specifies, look at the underside. Before loosening anything, mark the side of the blade that faces the ground with a marker or paint. This guards against the most common refitting error, which is installing the blade upside down.

Jam the blade with a block of wood between the blade and the deck so it cannot spin, then turn the bolt counterclockwise with a socket wrench. Most mower bolts use standard right-hand threads, but check the manual, since some models differ. If the bolt is stubborn, a penetrating oil and a few minutes of soak time help, and a breaker bar adds leverage.
Note the order of parts: bolt, washer, blade, and any adapter or spacer. Take a quick photo of the stack. Some blades have a blade adapter, a metal disc between the blade and the crankshaft, and it must go back in the same order.
Inspect before sharpening
Clean the blade with a wire brush, and look at it closely before you start to sharpen. A blade that is not safe to sharpen should be replaced, and the inspection tells you which it is.
- Bends: lay the blade on a flat surface, or sight along it. A bent blade will not cut evenly and creates dangerous vibration. Do not straighten a bent blade, because bending weakens the metal. Replace it.
- Cracks: look near the centre hole and the bolt holes. A cracked blade can fail at speed, so replace it.
- Deep nicks: small nicks can be filed out, but deep gouges that remove a lot of metal need the blade replaced.
- Wear on the sail: the upturned edge at the back of the blade creates the lift. If it has worn thin or has holes from corrosion, the blade will not lift grass well.
- Rust: surface rust brushes off. Rust that has eaten through the metal is a reason to replace the blade.
Sharpening with a file
A mill bastard file is the traditional tool and gives you excellent control. Clamp the blade in the vise with the cutting edge facing up and tight against the jaws, so it cannot move. Find the original bevel, the angled surface along the cutting edge, and match the existing angle. Many blades are ground at an angle around 30 to 45 degrees, but follow the factory bevel rather than guessing a number.
Push the file along the edge in one direction, away from your body, from the inside edge toward the tip. File only on the forward stroke and lift on the return. Count your strokes so that you remove the same amount from each end. Work until the edge looks bright and thin and any nicks disappear, and a light burr forms on the back side.
You do not need a razor edge. A mower blade should be sharp like a good garden spade, not like a kitchen knife. An overly thin edge dulls quickly and chips on stones. Remove the burr lightly with a pass of the file flat on the back.
Sharpening with a bench grinder
A bench grinder is faster and works well if you are careful. Wear eye protection and gloves, and hold the blade steady against the grinder rest at the original bevel angle. Use light passes and keep the blade moving.
Heat is the enemy. Overheating the edge turns it blue and softens the steel, so it dulls fast. Dip the blade in water between passes, or pause often to let it cool. Remove the same amount of metal from both ends, so the blade stays balanced, and stop as soon as you have a clean edge.
An angle grinder or a drill-mounted sharpening attachment can also work, but they are harder to control and easier to overheat or to grind unevenly. For most owners, a file is slower but safer.
Balancing the blade
Balance is the step that people skip, and it matters more than a sharp edge. A blade that is heavier on one end spins unevenly, producing vibration that wears the crankshaft bearings on a gas engine or the motor shaft on a battery mower. It also makes the mower shake in your hands.
The simplest check is to hang the blade on a nail driven into a wall or stud, through the centre hole. A balanced blade stays level. If one end dips, that end is heavier. Remove a small amount of metal from the heavy end, usually from the back of the cutting edge and never from the tip, and recheck. A cone-style blade balancer does the same job and is faster to use.
Repeat until the blade stays level at any rotation. If a blade is badly out of balance after sharpening, you removed too much from one side. Replace the blade if you cannot restore balance.
Refitting the blade
Refit in the reverse order. Check the marks you made: the side you marked faces the ground, and the sail points up toward the deck. Place any adapter or spacer in the same order you removed it, use the original washer and a fresh bolt if the old one is damaged.
Tighten the bolt to the torque listed in your manual, using a torque wrench. Guessing risks a loose blade that can come off in use or an over-tightened bolt that strips threads. If you do not own a torque wrench, borrow or buy one for this job, because a blade bolt is not a place to guess.
Turn the blade by hand to check that it clears the deck and spins freely. Then restore the mower to its upright position, reconnect the spark plug lead or battery, and run a short test on a clear patch of lawn.
Know which blade you have
Mower blades are not all the same shape, and the shape affects how you sharpen and replace them. Knowing the type helps you keep the original geometry.
- Standard or 2-in-1 blades: a straight cutting edge with a modest sail. They suit side discharge and bagging.
- High-lift blades: a larger sail that moves more air, for bagging in thick grass and for clearing leaves. They need more engine power and wear their edges faster in sandy soil.
- Mulching blades: a curved edge with extra cutting surface to recut clippings. Only sharpen along the cutting surfaces the maker intended.
- Multi-piece or shredder blades: some mowers use two blades stacked, or a blade with extra cutters. Sharpen each piece evenly and keep the stack order unchanged.
Sharpening should never change the profile of the sail. File only the cutting bevel. If you remove too much metal from the lifting section, you reduce airflow, and the mower will leave clippings behind.
Common mistakes to avoid
- Not disconnecting the spark plug or battery, which is the most dangerous mistake on the list.
- Refitting the blade upside down, so the mower tears the grass or barely cuts at all.
- Skipping the balance check and then replacing a bearing or crankshaft because of vibration.
- Grinding too hot and softening the steel.
- Changing the bevel angle dramatically, which can leave a fragile edge or a blunt one.
- Over-tightening or under-tightening the bolt, instead of using the torque value in the manual.
- Tipping a gas mower the wrong way and flooding the air filter with oil.
Aftercare and storage
Once the blade is on, a few habits keep it sharp longer. Scrape or hose off grass from the underside of the deck after mowing, because wet clippings hold moisture against the steel and encourage rust. Wipe the blade with an oiled rag at the end of the season, which leaves a thin protective film.
Avoid mowing over sticks, acorns and loose stones, and walk the lawn before you mow to pick them up. If you edge along a driveway or curb, keep the deck slightly away from the hard surface, because even a brief contact chips the edge. Following those habits, many owners find that a seasonal sharpening is enough.
When to send it out
If you do not own a vise, a grinder or the confidence to balance a blade, a local mower shop or hardware store can sharpen and balance it quickly. Professional machines hold the correct angle consistently and balance the blade as part of the service. Many owners find that a swap with a spare blade while the first is serviced is the least disruptive routine, since the mower is only out of use for a few minutes.
Whichever route you take, treat a sharp blade as a safety item as well as a quality one. It is the one part of the mower that touches everything you cut, and the care you give it shows in the lawn within a single mow.
How often to sharpen
A reasonable schedule is once at the start of the season and once mid-season for an average residential lawn. Sandy soil, lots of twigs and stones, or edging near hard surfaces dulls blades faster, and you may need to sharpen more often. Mowing a rough, bumpy lawn or hitting a rock can nick a blade immediately.
Signs that the blade needs attention include ragged grass tips, uneven cuts, a lawn that browns at the tips after mowing, more vibration than usual, and more effort or battery drain. If you notice any of these, inspect the blade.
Keeping a second blade is a practical habit. You can swap in the spare when the first goes dull, and sharpen at leisure. It cuts the downtime and makes it easy to keep one in good condition at all times.
Sharpen or replace
| Condition | Action |
|---|---|
| Dull, clean edge, no damage | Sharpen |
| Small nicks | File out and sharpen |
| Bent | Replace |
| Cracks near centre or bolt holes | Replace |
| Sail worn thin or missing | Replace |
| Rust through the metal | Replace |
| Cannot be balanced after sharpening | Replace |
| Cutting edge so worn it is very short | Replace |
When replacing, use the part listed for your exact mower model. Blades are not interchangeable even when they look similar, because length, centre hole and bolt pattern vary. For mulching, check that the blade type suits your deck, as explained in our discharge mode comparison.
Notes for battery and electric mowers
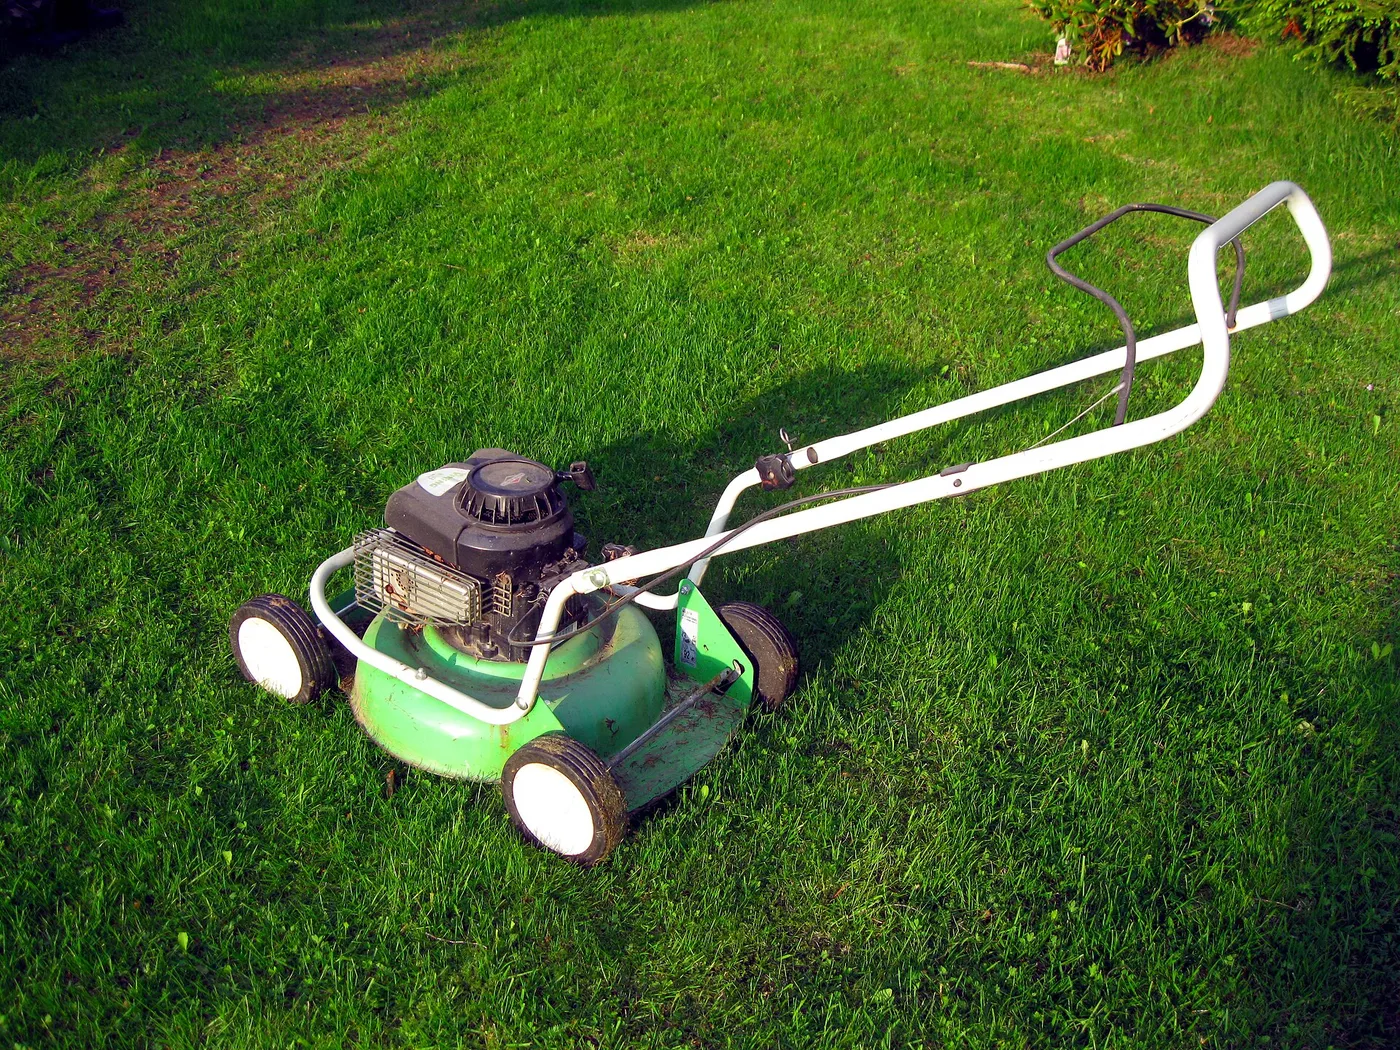
The process is the same on a battery mower, and the safety step is even simpler: remove the battery and, where there is one, the safety key. Some battery mowers use a blade with a special mounting design or a quick-release adapter, so read the manual. Not all brands approve of owner sharpening, and some warranty terms mention blade replacement, so check yours.
Because motors spin at a fixed high speed, an unbalanced blade shows up as vibration quickly, and battery mowers are often quieter, so vibration is easier to notice. See our page on gas versus battery mowers for broader ownership differences.
Frequently Asked Questions
Can I sharpen a mower blade without removing it?
You can touch up the edge with a file while it is still on, but you cannot balance it or inspect it properly. Removing the blade is safer and gives a better result.
How do I know which side of the blade faces down?
The sail, the upturned edge, points toward the deck, and the flat cutting edge faces the ground. Mark the ground-facing side before you remove it so you refit it correctly.
Is a bench grinder better than a file?
A grinder is faster but easier to overheat and over-grind. A file is slower and gives more control, which suits most home owners. Either works if you keep the angle and the balance.
How sharp should a mower blade be?
Clean and keen, but not razor sharp. The edge should cut grass cleanly without chipping on small stones. A thin, fragile edge dulls quickly.
Can I use a bent blade if I straighten it?
No. Bending weakens the steel and a blade that was straightened can fail. Replace any bent blade.
Bottom line
Disable the mower first, mark the blade, remove it, inspect it, and sharpen along the original bevel with a file or a carefully used grinder. Balance the blade before refitting, put it back with the sail toward the deck and torque the bolt to the manual’s value. Sharpen once or twice a season, keep a spare blade, and replace anything bent, cracked, rusted through or impossible to balance. A good routine keeps the cut clean and protects the machine, whether it runs on gas or a battery. For help choosing a new mower, see our gas mower picks and our battery mower picks.