
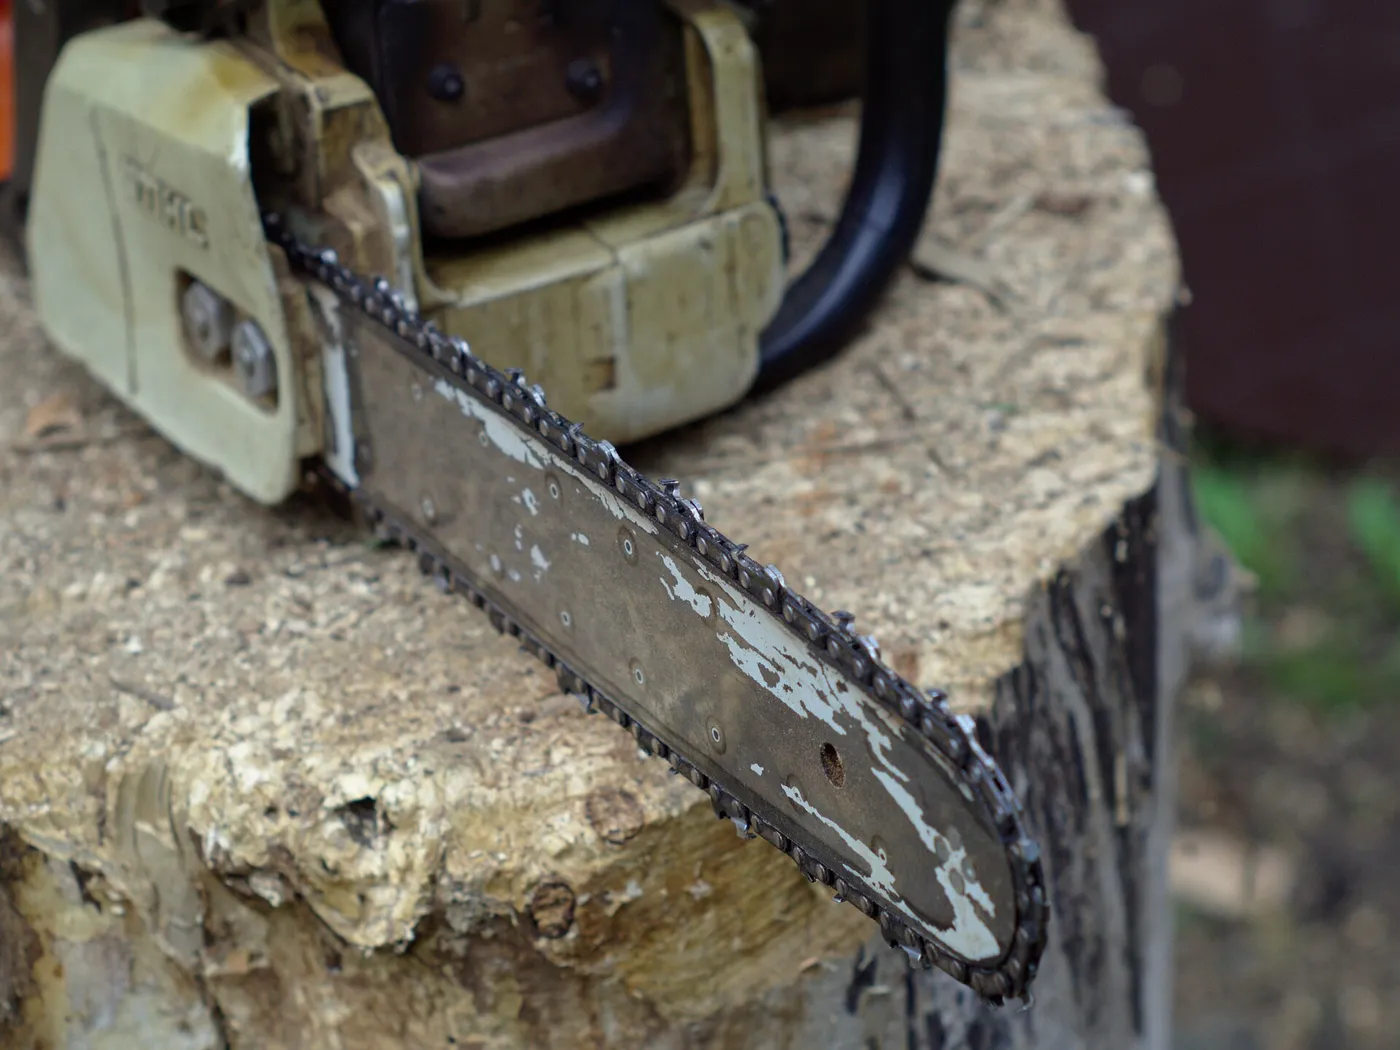
The sawdust test
You can tell a dull chain before you read a single instruction. Look at what the saw throws. A sharp chain produces chunky chips, long curls that fall in a pile. A dull chain produces fine dust, almost like flour, and the saw has to be pushed into the cut instead of pulling itself in.
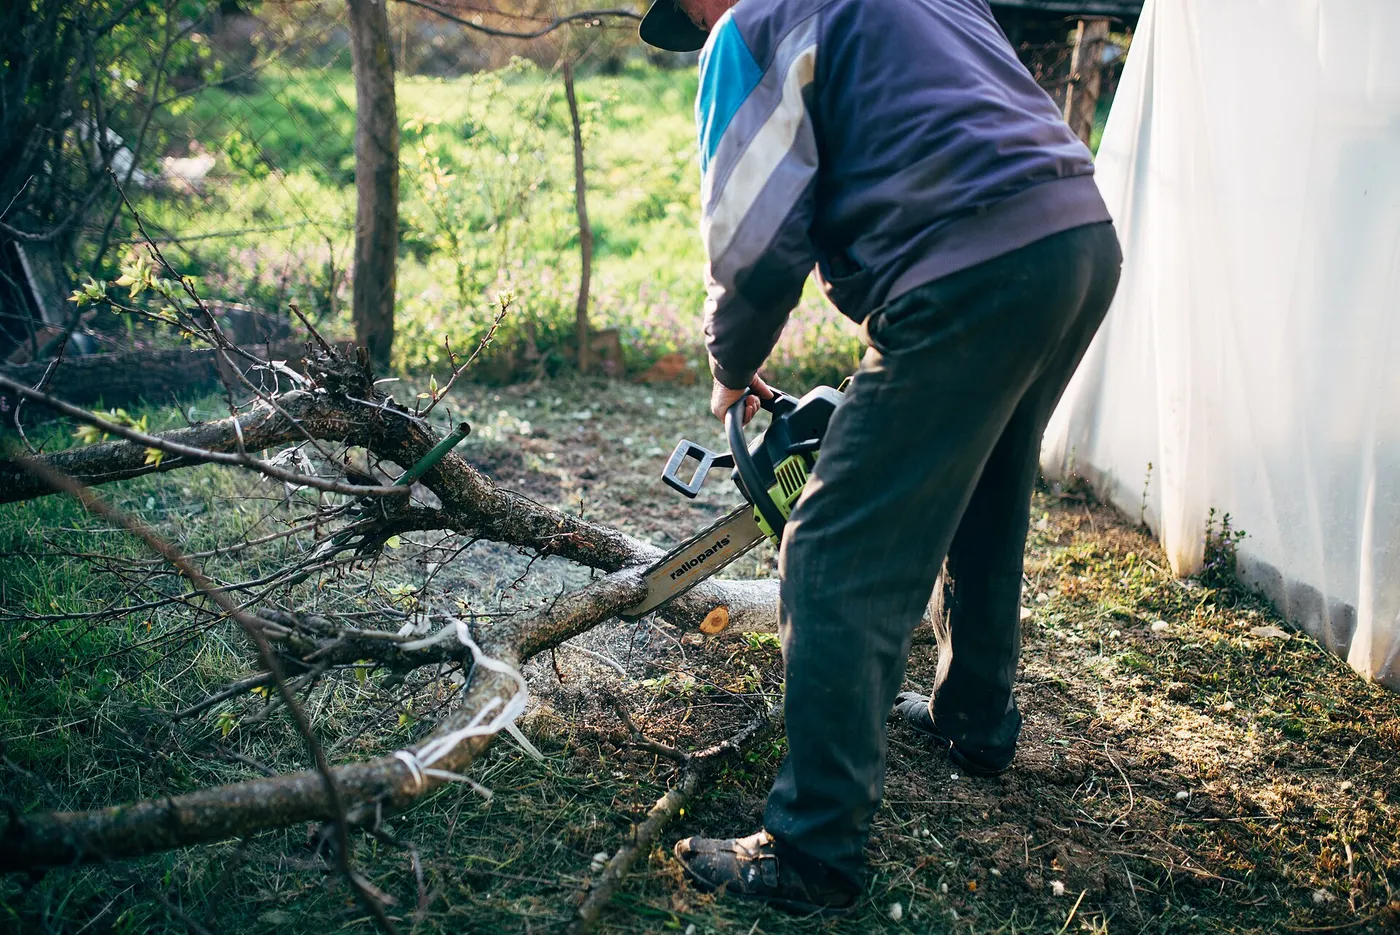
Other signs follow. The saw wanders or pulls to one side, because one cutter is duller than the rest. It smokes in the cut, because friction is doing the work that a cutting edge should. The engine labours, or on a battery saw the runtime collapses. Each of these is cheaper to fix with a file than with a new chain.
This article is the filing procedure: tools, angles, depth gauges and the point at which sharpening stops being worth it. Chain geometry and types are covered in our chain types explainer, and bar choice in the bar length guide.
Anatomy of a cutting tooth
Each cutter on a chain is a small, precision-shaped tooth. The top plate is the horizontal surface that shears the wood fibres on the top of the cut. The side plate is the vertical face that cuts the side of the kerf. The cutting corner where they meet does most of the work, and it is the part that dulls first.
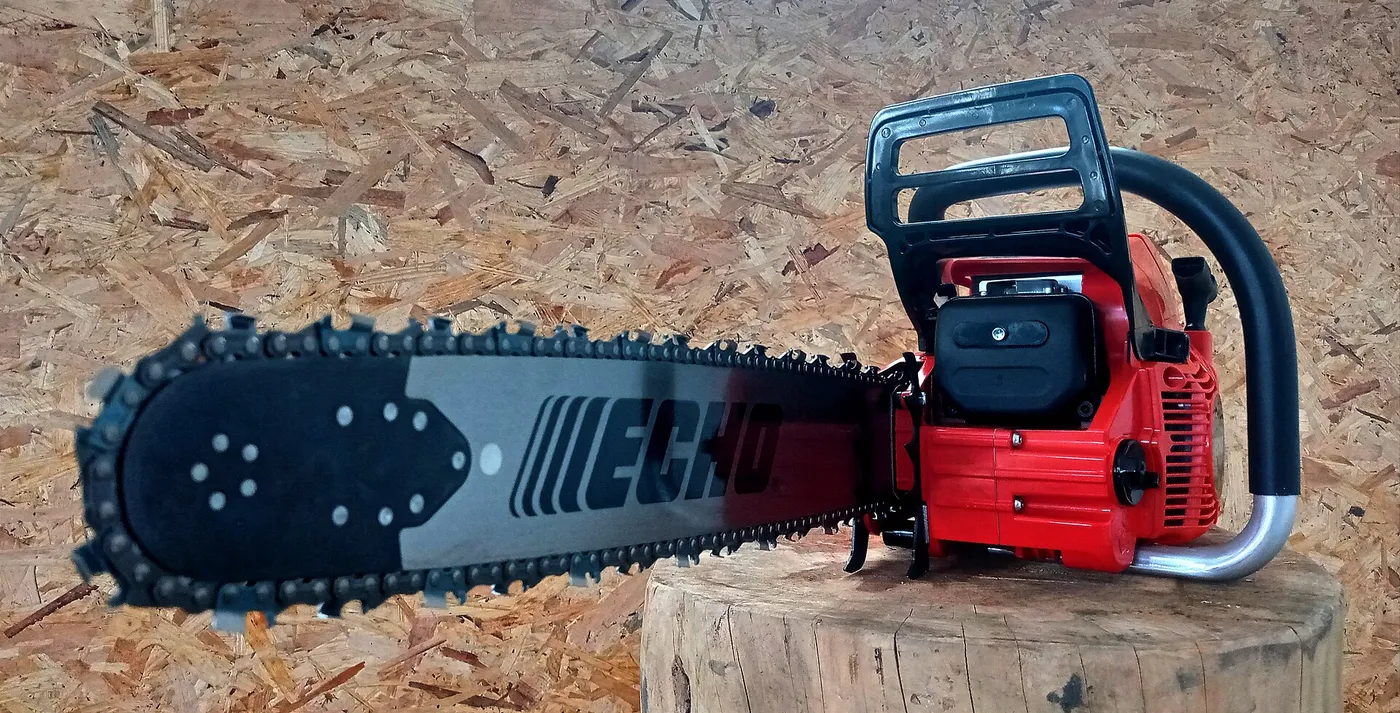
In front of each cutter sits a depth gauge, a small raised hump, also called a raker. It limits how deeply the cutter can bite. If the depth gauge is too high, the cutter cannot take a bite and the saw produces dust even when the tooth is sharp. If it is too low, the saw grabs and kicks.
Between the cutters are drive links, the tabs that fit into the bar groove and engage the sprocket. They are not sharpened. Keep this layout in mind: you are restoring the edge of the cutter and then setting the depth gauge to match.
Tools you need
- A round file of the correct diameter for your chain's pitch, usually stated in the manual or on the chain packaging.
- A file guide, a holder that sets the file height and angle, which makes consistent results far easier.
- A flat file and a depth gauge tool for the rakers.
- A vise, stump vise or bar clamp, to hold the saw steady.
- Gloves, safety glasses and a marker pen.
File diameter matters. A file too small cuts a hook shape that dulls quickly, and one too large rounds the cutter wrongly. As a general guide, many standard 3/8 inch pitch chains use a 7/32 inch file, while low-profile chains use smaller files, but always confirm with the chain maker's specification, because sizes vary by chain type.
Prepare the saw safely
Switch the saw off, let it cool, and on a battery model remove the battery. On a gas saw, disconnect the spark plug lead if you will be spinning the chain by hand. Engage the chain brake to hold the chain still, or clamp the bar in a vise so it cannot turn.
Clean the chain with a brush and a little solvent if it is gummed with sap. Dirt and resin clog the file and hide the cutters. Wear gloves, because chain teeth are sharp even when dull.
Set the saw at a comfortable height, ideally with the cutters at about elbow level. A stable setup is the biggest factor in getting even results. Mark the first tooth you sharpen with a marker so you know where you started.
Understanding the angles
Most chains have filing guide marks stamped on the top plate that show the correct angle. Match the file to those marks. A common top plate filing angle is around 30 degrees for many standard chains, but different chain types use different angles, so follow the marks and the manufacturer's data.
The file also needs a correct tilt, called the vertical angle, or it must sit at the correct height relative to the cutter. A file guide sets this for you. Roughly one fifth of the file's diameter should sit above the top of the cutter. That gives the right hook to the cutting corner.
| Angle element | What it controls | If it is wrong |
|---|---|---|
| Top plate angle | Sharpness and aggressiveness of the cut | Too steep dulls fast, too shallow grabs |
| File height | The hook of the cutting corner | Too high rounds the corner, too low leaves a blunt edge |
| Horizontal direction | Straight across the cutter, parallel to the guide marks | Off-angle cutters pull the saw to one side |
Consistency matters more than perfection. All cutters should end up the same length and the same angle. A mix of angles makes the chain cut unevenly.
Filing step by step
- Start with a cutter on one side of the bar. Place the file in the gullet, the curved notch in front of the cutter, so it rests against the top plate and the side plate.
- Align the file with the filing guide marks on the cutter, keeping it level and at the correct height. The file guide will rest on the cutter and the depth gauge.
- File from the inside out, with smooth, steady strokes in one direction only, pushing the file through the cutter. Lift the file on the return stroke, since a file cuts only on the forward push.
- Take a few strokes, typically three to five, until the edge is bright and sharp. Count your strokes.
- Use the same number of strokes on every cutter, and rotate the file slightly between strokes so it wears evenly.
- Move to the next tooth on the same side. Pull the chain forward by hand and continue until you have done every cutter facing the same way.
- Turn the saw around, or move to the other side of the vise, and repeat for the cutters facing the other way.
Keep pressure light. The file should remove a thin, even layer. Pressing hard rounds the edge and removes more metal than needed, which shortens the chain's life.
Match to the shortest cutter
If one cutter is damaged, for example after hitting dirt or a nail, it will be shorter than the rest after you remove the damage. Sharpen every cutter to match the shortest one. The length of the top plate should be consistent around the chain, or the chain will cut unevenly and pull to one side.
This can mean substantial filing on the longer cutters, and for a chain that has hit dirt it may take many strokes. In such a case, a chain that is badly damaged may be quicker and cheaper to replace than to repair, depending on the damage and the remaining life.
After filing, run your fingers carefully across the cutters, avoiding the edges. Look at each one: the top plates should look alike, and the cutting corners should be sharp and free from rounded spots.
Setting the depth gauges
After several sharpenings, the cutters become shorter relative to the depth gauges, so the gauges stand too high and the saw starts to produce dust again. Checking and lowering them restores the bite. Most chain makers recommend checking the depth gauges every few sharpenings, often every second or third.
Place a depth gauge tool on the chain so that it sits over a cutter and its depth gauge. If the gauge protrudes above the tool's slot, file it down flush with the tool using the flat file. Typical settings are a small fraction of an inch, with a common figure around 0.025 inch for many chains, but follow your chain's specification, because the correct setting depends on the chain and the wood.
After lowering the gauge, round off the front edge slightly with the file to keep its profile. Do not lower the gauges more than recommended, because a gauge set too low makes the saw grab and increases kickback risk.
Tension, lubrication and test cutting
After sharpening, check the chain tension. Release the chain brake, and lift the chain at the middle of the bar. It should sit snug against the bar but still pull around by hand with a gentle tug. Adjust following the manual, and re-check after the first few cuts, since a new or freshly sharpened chain stretches slightly.
Make sure the bar oil reservoir is full and the oiler is working. A sharp chain still needs lubrication, and a dry chain overheats fast. Look for a fine spray of oil from the bar tip when you run the saw at speed over a clean surface.
Test the chain on a piece of scrap wood in a safe position. It should pull itself into the wood with chips, not dust, and the saw should track straight. If it veers, recheck for a cutter that is shorter or at a different angle.
Reading what the chain tells you
The condition of the cutters says a lot about how the saw has been used. Cutters with a bright, even wear pattern and rounded corners are simply dull and ready for a file. Cutters with a chipped or missing corner have hit something hard, such as a nail, a stone or buried wire. Cutters that have turned blue or purple at the edge have overheated, usually from running dry or cutting with a very dull chain.
If only the top plate is dull, a normal sharpening will do. If the side plate is damaged or the cutting corner is gone, you will need to file back past the damage, which uses up chain life quickly. Overheated cutters are poor candidates, because the heat softens the steel and the edge will not hold.
Uneven wear across the chain points to a technique or setup problem. If cutters on one side are consistently duller than on the other, the saw may have been pulled to one side, or the bar may be worn, so the chain rides crookedly. Check the bar rails and groove if the same side dulls first.
Dirty wood, such as a stump with soil on it, dulls a chain in a handful of cuts. Cutting clean wood above ground and brushing off bark grit before cutting extends the time between sharpenings considerably.
Common mistakes
- Using a file of the wrong diameter for the chain.
- Changing the angle from tooth to tooth, which makes the saw pull to one side.
- Filing in both directions, which dulls the file and wastes effort.
- Ignoring the depth gauges and wondering why a freshly sharpened chain still makes dust.
- Pressing too hard and rounding the cutting corner.
- Sharpening a chain that has hit the ground without removing the damaged metal first.
The commonest error of all is inconsistent strokes. Count them, and keep the file guide seated, and results improve markedly.
When to replace the chain
A chain is a consumable, and it eventually wears out. If the cutters have been filed down until the top plates are very short, if the chain is stretched beyond adjustment, or if cutters are cracked or damaged, replace it. Most chain makers state a minimum cutter length, a point at which the chain should be retired.
Check the drive links and the rivets too. Worn drive links ride poorly in the bar groove, and loose rivets are a hazard. Likewise, a chain that has been run with poor lubrication may be blued, a sign of overheating, and its temper may be ruined.
Replace the chain with the same specification: pitch, gauge and number of drive links. If you are unsure, check the markings on the old chain and bar, or consult our chain types guide. Many owners also replace the sprocket when they change two or three chains, since a worn sprocket wears new chains faster.
Hand filing versus a powered sharpener
Hand filing is portable, inexpensive and good for touch-ups in the field. It needs practice but pays back quickly. A bench or electric sharpener grinds the cutters with a wheel, which is faster and consistent but removes more metal per sharpening, so the chain wears out sooner, and the equipment costs more.
For most homeowners, a file and guide is the better route. Reserve a professional sharpener for chains that are severely damaged or when you do not have time. The key is to sharpen early, because a lightly dulled chain takes a few strokes to restore, and a badly dulled one takes a full session.
If you are shopping for a saw as well, our roundups of cordless chainsaws show models that include a spare chain or sharpening accessories, and a spare chain lets you swap and sharpen at home later.
Frequently Asked Questions
How often should I sharpen a chainsaw chain?
Sharpen whenever the saw starts producing fine dust, pulls to one side or needs pressure to cut. Light touch-ups with a file every few uses keep the chain sharp and save effort. A chain that hits dirt needs sharpening immediately.
What size file do I need?
The size depends on the chain's pitch and type, and the manufacturer lists it in the manual or on the chain packaging. A 3/8 inch pitch chain commonly uses a 7/32 inch file, but do not guess, since the wrong size ruins the cutter shape.
At what angle should I sharpen the chain?
Follow the marks on the cutter, which show the correct top plate angle. Many standard chains use roughly 30 degrees, but this varies, so match your chain's markings.
Do I need to file the depth gauges every time?
No. Check them every few sharpenings, and file them when they stand higher than the gauge tool recommends. Lowering them too often or too far makes the saw grab.
Can I sharpen a chain without removing it from the saw?
Yes. With the chain on the bar and held still by the brake or a clamp, you can file each cutter in place. Remove it only when it is badly damaged or you want to use a bench sharpener.
Why is my chain still dull after sharpening?
Common causes are depth gauges that are too high, cutters at inconsistent lengths, or a file that is the wrong size. Check the gauges with a depth tool and compare the cutter lengths before you re-sharpen.
Bottom line
Sharpening a chainsaw chain is a skill you can learn in an afternoon. Use the right file for your chain, hold the marked angle, use the same number of strokes on every cutter, and check the depth gauges every few sharpenings. Then set the tension, oil the chain and make a test cut.
Keep going while the chain is only slightly dull, because it takes less effort and removes less metal. Retire a chain when the cutters are short or damaged, and always wear protective gear and follow your saw's manual. A sharp chain is not only faster, it is safer, since it cuts under control instead of being forced.