The first layer failure
Ten hours into a large print, the corner lifts, the part peels from the bed and the nozzle drags a ribbon of spaghetti through the air. The cause is almost always set in the first few seconds of the job, when the first layer went down with an uneven gap between nozzle and bed.
That is why experienced users say that every print is decided by its first layer, and why leveling gets so much attention. It is a mechanical task, simple once you understand what it is trying to achieve.
What leveling actually means
Leveling is a slightly misleading word. The goal is not to make the bed perfectly horizontal in the room, as with a spirit level. The goal is for the bed to be parallel to the plane the nozzle travels in, so the gap between them is the same everywhere.
If the bed is tilted relative to that plane, the nozzle is too close in one corner and too far in the opposite one. Where it is too close, the plastic is squashed or the nozzle scrapes. Where it is too far, the first layer does not press into the bed and does not stick.
Why the gap matters so much
The first layer is laid down by squishing a ribbon of molten plastic onto the surface. A correct gap, usually a small fraction of a millimeter, presses the plastic into the textured surface and gives it a wide, flat, firm bond. This adhesion holds the part through the entire print, resisting the forces from cooling and shrinking that try to lift corners.
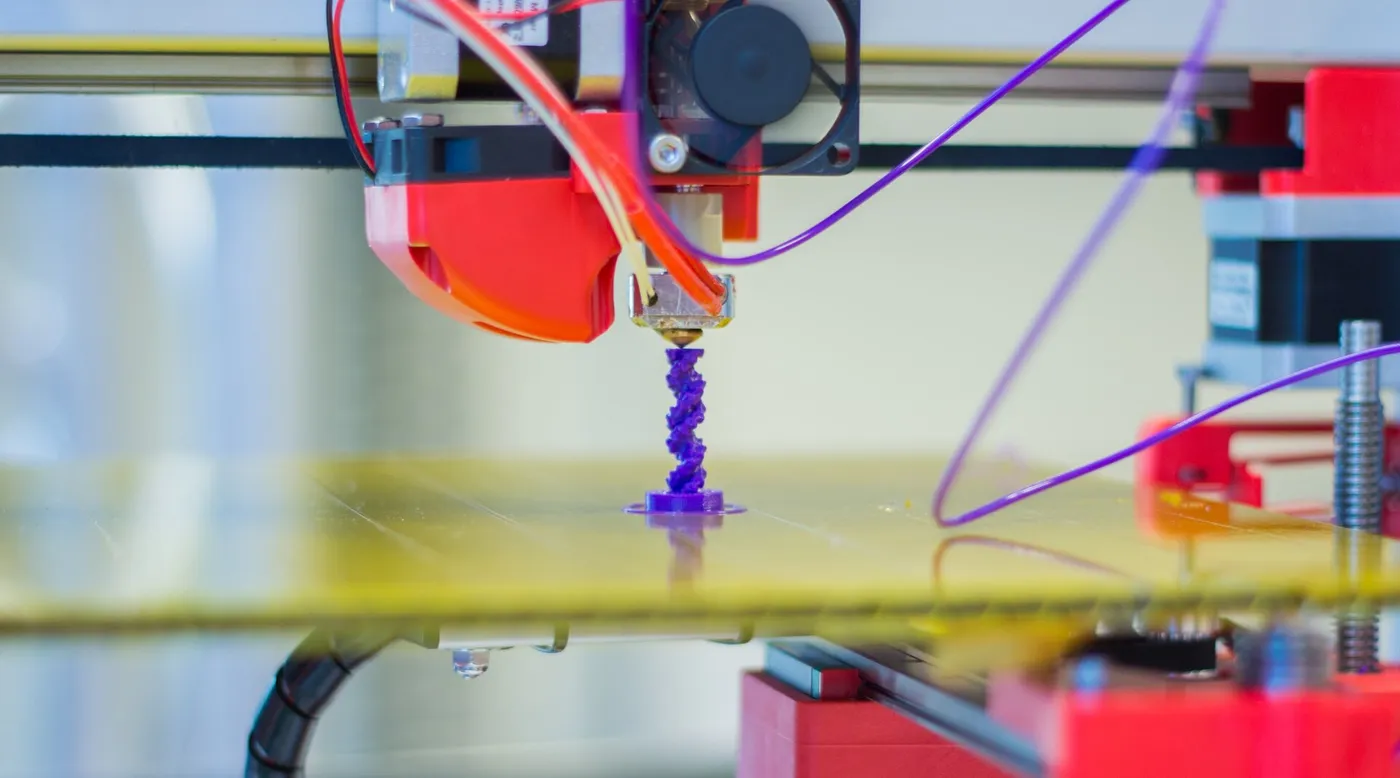
The gap interacts with the first layer height and the nozzle diameter set in the slicer, as covered in our nozzle and layer height article. Choose a first layer thicker than the rest, and the process becomes more forgiving of small errors in the bed.
Manual leveling
Many printers have a bed that sits on adjustable supports, often thumbwheels or screws at the corners. You move the nozzle to each corner, adjust the support until the gap is right, and repeat until all corners agree. Adjusting one corner changes the others, so you go around several times.
Users judge the gap with a piece of paper or a feeler gauge. The nozzle should just grip the paper, giving slight drag when you slide it. This is a feel-based method, and it works well once you have developed a sense of the right resistance.
- Heat the bed and nozzle to printing temperature, because parts expand when hot.
- Home the printer and move the nozzle to the first corner.
- Slide a sheet of paper under the nozzle and adjust until you feel a light drag.
- Repeat at each corner and the center.
- Go around again, because each adjustment affects the others.
- Run a test print of a wide, flat pattern and check the result.
Manual leveling is cheap and reliable when the bed is flat. Its weakness is drift. Vibration and thermal cycles slowly loosen the settings, so you need to recheck regularly.
The bed itself may not be flat
Leveling assumes the bed is a flat plane. Real beds warp slightly with heat and manufacturing tolerances, and a large bed is more likely to have a small bow. A bed that is not flat cannot be perfectly leveled by adjusting corners alone, and you end up with a gap that is correct in some areas and wrong in others.
This is why bigger printers lean on automatic leveling. A large bed has more area for a bow to appear, and the compensation helps. You can see this in the larger models covered in the best 400mm 3D printers guide, where automatic compensation is common.
Automatic bed leveling
Automatic bed leveling, often called ABL, uses a probe to measure the distance to the bed at a grid of points. The firmware builds a map of the surface, and as the nozzle moves it adjusts its height to follow the map. Rather than physically leveling the bed, the printer compensates for tilt and warp in software.
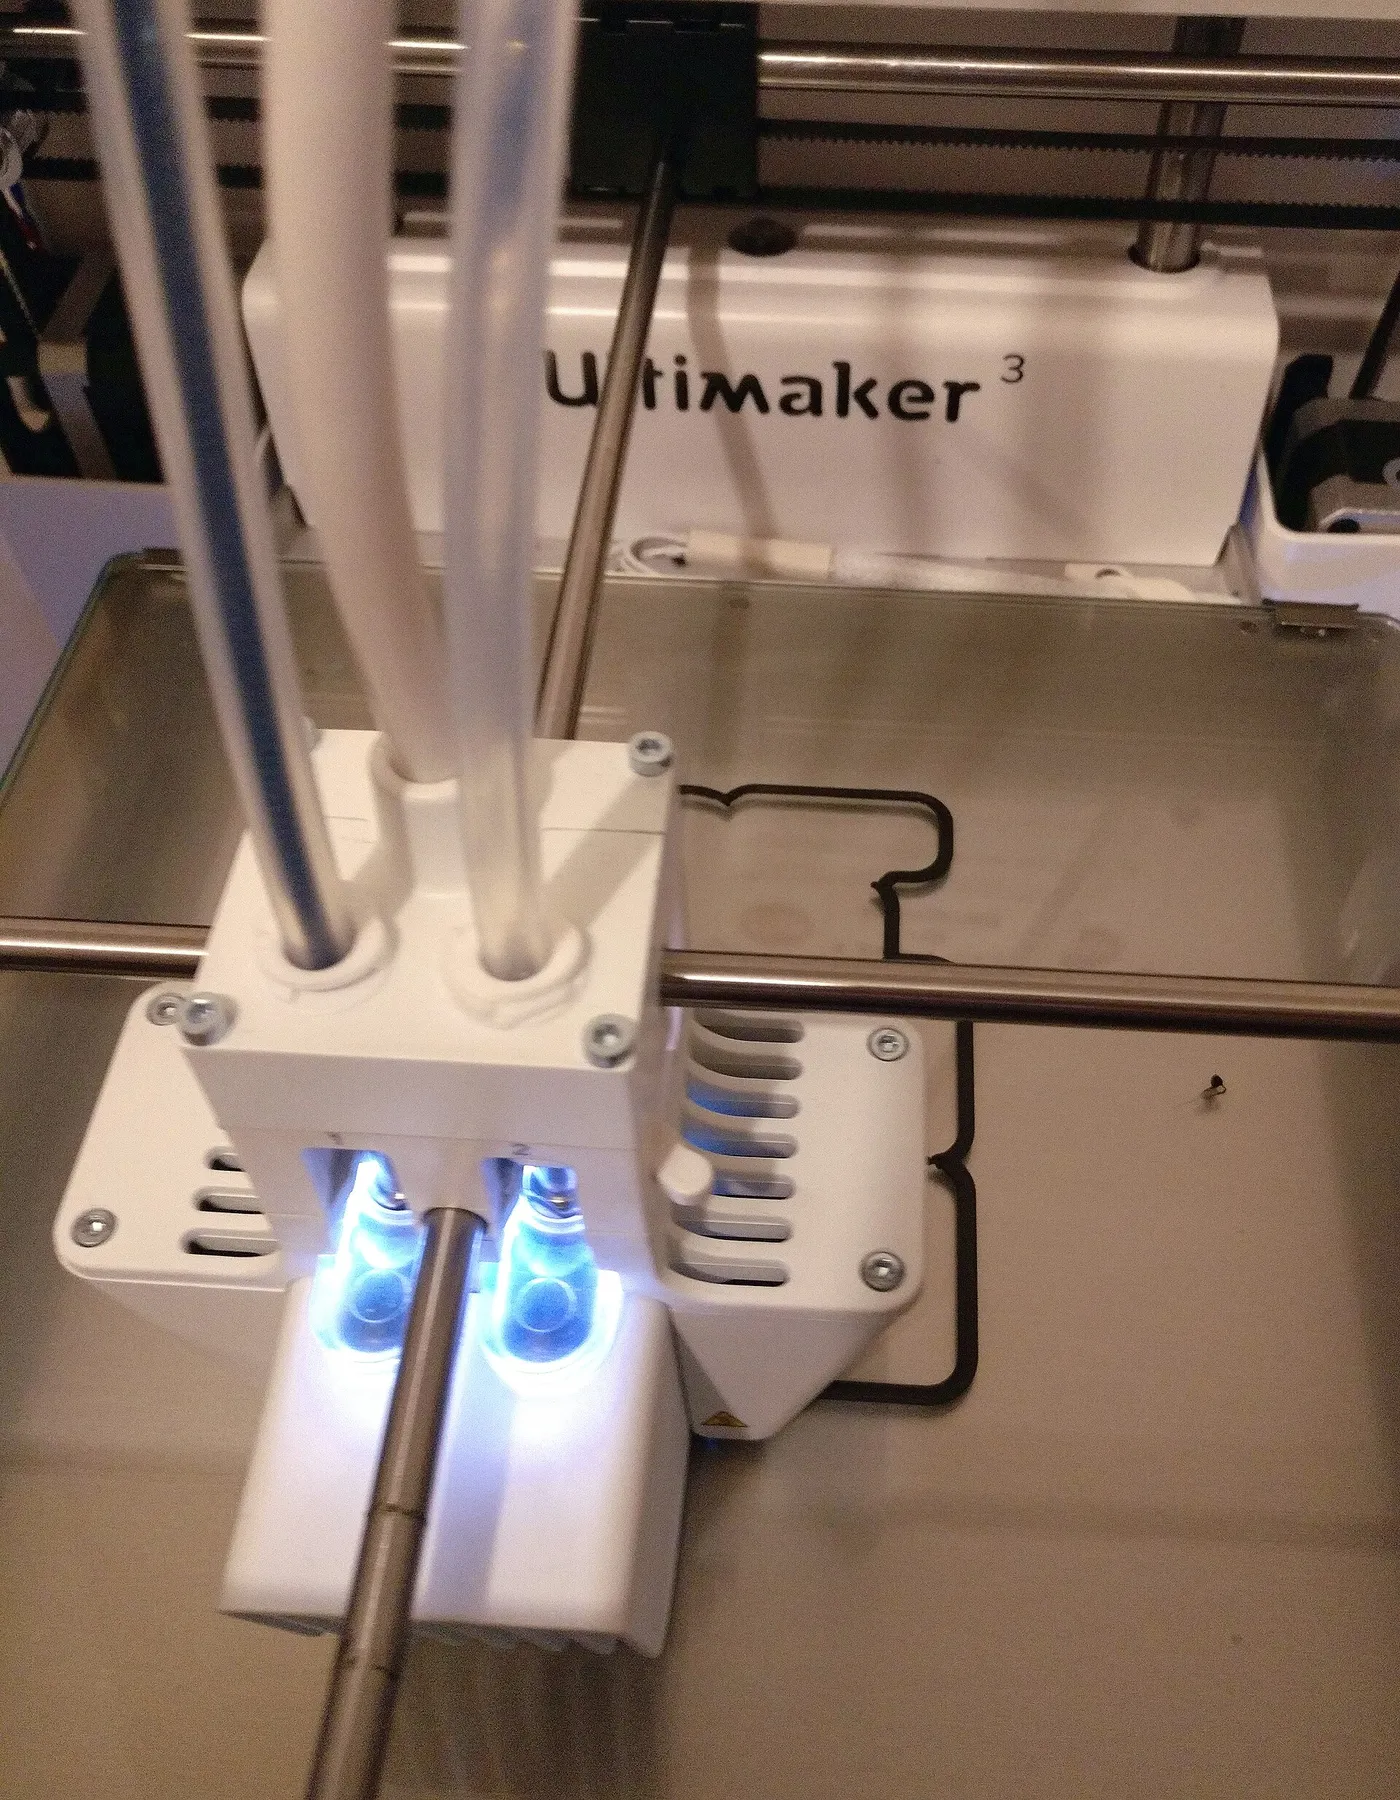
The advantage is convenience and accuracy on a bed that is not perfectly flat. The disadvantage is that the compensation has limits. A large tilt or a warped bed still benefits from a mechanical adjustment, and the probe must be reliable and accurate.
Types of probes
| Probe type | How it senses | Strengths | Limits |
|---|---|---|---|
| Mechanical switch | A pin or arm triggers a switch on contact | Works on any surface, simple | Moving parts, can wear |
| Inductive | Detects metal through a magnetic field | No contact, quick | Needs a metal bed, readings can vary with temperature |
| Capacitive | Senses changes in electric field near a surface | Works on more materials | Can be affected by temperature and humidity |
| Strain or load sensing | Detects the nozzle touching the bed through force | Measures with the actual nozzle | More complex, depends on the design |
| Optical | Light reflection from the bed | No contact | Surface color and finish can affect it |
No type is universally best. Printer makers pick one that fits their bed, hot end and price. When you compare machines in the best 3D printers guide, notice how the leveling is implemented and whether the manufacturer describes how it deals with a warm bed.
Z offset and the first layer squish
After the probe maps the bed, you set the Z offset, which adjusts the gap between the nozzle and the bed at the probe's reference point. This number decides the squish of the first layer. Too high and the plastic does not press into the bed. Too low and the nozzle scrapes, the plastic is squeezed thin and the flow can block.
Adjust it in small steps while a first layer prints, watching the line. You want lines that are slightly flattened and fused together, with no gaps and no ridges. Save the value in the printer, and recheck after you change the build surface or the nozzle.
Reading the first layer
- Gaps between lines or rounded, stringy lines: the nozzle is too high. Lower it a little.
- Translucent, scraped or wavy lines with rough edges: the nozzle is too low. Raise it a little.
- Smooth, flat, fused lines: the gap is about right.
- One side good and the other poor: the bed is tilted or warped, so level or remap.
A test print of a thin square across the bed shows you the whole surface at once. Many users print a first layer test after every nozzle or surface change.
Level at temperature
Metal expands as it heats, and a bed and gantry at printing temperature differ from cold. Leveling when cold and printing when hot can produce a gap that is off by enough to matter. Most guidance is to level with the bed and nozzle at working temperature, or to use a printer that performs the measurement hot automatically.
Take care when working near a hot nozzle and bed, and use the correct procedures from your manual to avoid burns.
The surface on top of the bed
Different build surfaces affect adhesion and the right gap. A textured sheet grips plastic strongly, a smooth glass plate gives a shiny underside, and a flexible spring steel plate lets you flex the part off. Each has a slightly different ideal squish, and each wears over time.
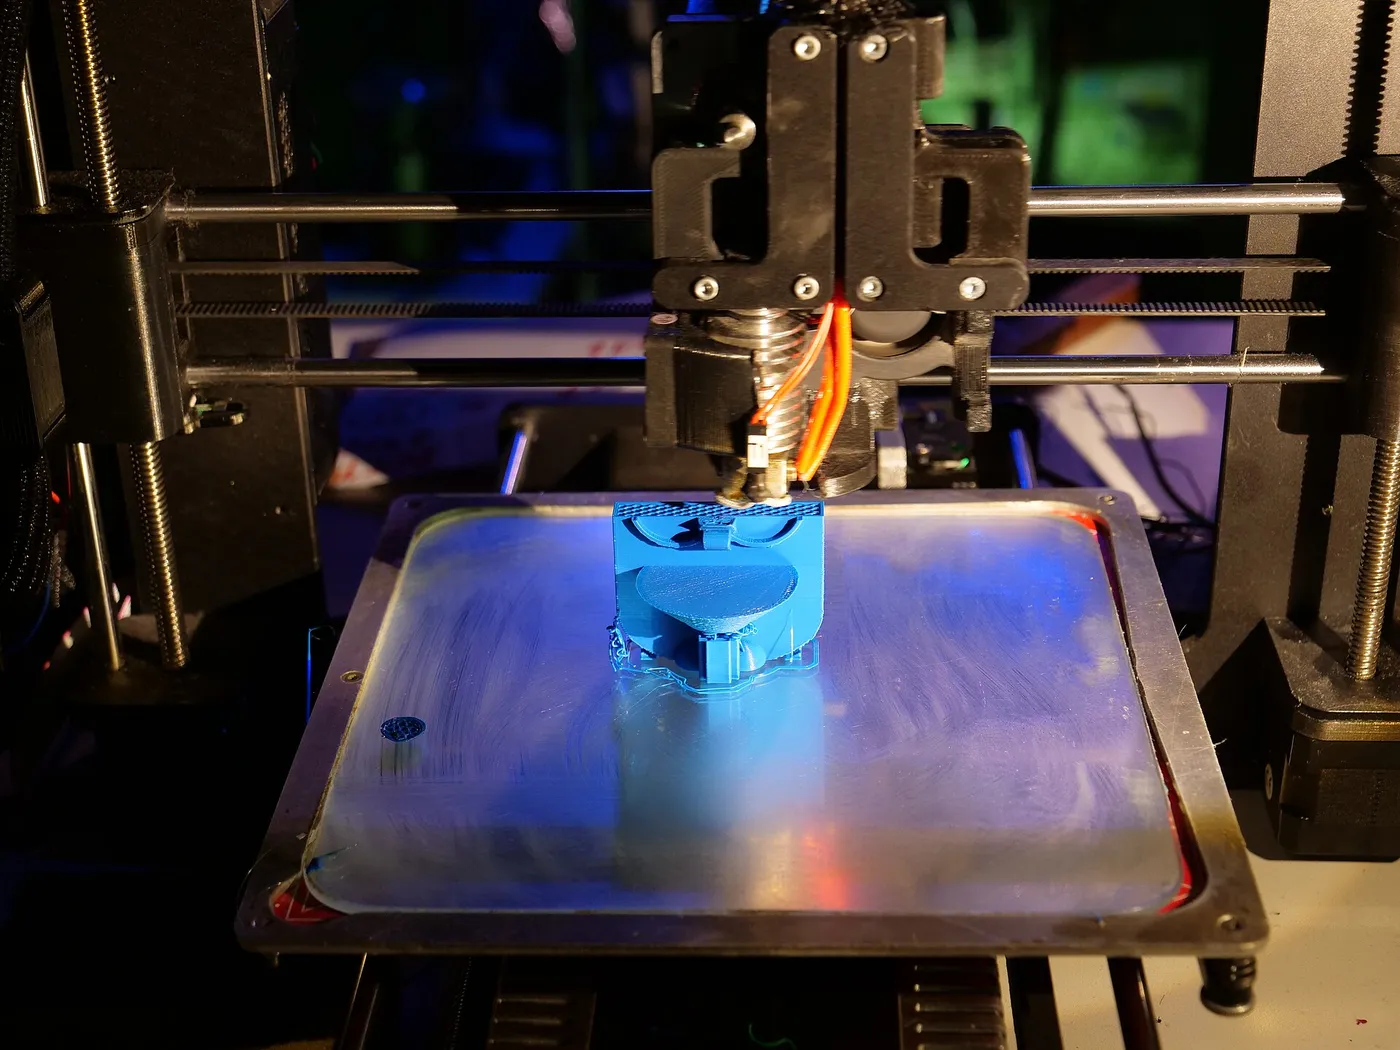
Keep the surface clean, because oils from fingers reduce adhesion even with a perfect gap. Wipe it with the cleaner the maker recommends, and replace a worn sheet.
Keeping a level bed level
- Check that the bed and gantry are tight and the leveling screws are not loose.
- Inspect the springs under the bed, which weaken with use.
- Clean the nozzle so a blob of old plastic does not change the real height.
- Recalibrate after moving the printer or changing the surface.
- Check the probe for dirt or damage if the map begins to drift.
Bed meshes and how many points to probe
An automatic system probes a grid of points and builds a mesh, a height map of the bed. A denser grid captures more detail about the surface, but it takes longer to measure. A small grid is quick and fine for a bed that is flat and just slightly tilted. A bed with a pronounced bow or localized dips benefits from more points.
Think of the mesh as a contour map. The firmware interpolates between the measured points, assuming the surface changes smoothly. If the bed has a sharp bump between two probe points, the map will not see it. That is why a physically flat bed beats any amount of software compensation, and why heavy warping is worth fixing rather than hiding.
| Bed condition | Reasonable approach |
|---|---|
| Flat and slightly tilted | Small probe grid, or manual leveling |
| Gently bowed when hot | Mesh at working temperature, medium grid |
| Warped with local dips | Replace or flatten the bed, then mesh |
| Very large bed | Denser grid and a stiff bed |
When the problem is the frame
Sometimes the leveling fails because the machine itself is not square. A gantry that sags on one side, a loose belt or a wobbling frame changes the gap as the nozzle moves, and no amount of bed adjustment fixes it. Check that the frame is rigid, the rails are clean, and the carriage rides smoothly without play.
Place the printer on a solid, level table, and avoid a surface that flexes when the bed moves. On printers with a moving bed, the weight of a heavy print can change the bed's behavior slightly, so a stiff mount matters. If your first layer is good at the front and poor at the back, and releveling does not help, look for a mechanical cause.
Common mistakes
- Leveling while the bed is cold and printing while it is hot.
- Setting the gap too tight, so the nozzle scrapes and the plastic cannot flow.
- Ignoring a dirty nozzle or a blob of old plastic that changes the real height.
- Skipping the Z offset after changing the build surface.
- Assuming automatic leveling removes the need for any physical adjustment.
- Adjusting only one corner and not going around again.
Most of these are habits, and building a short routine solves them. Heat up, clean the nozzle, wipe the bed, home, level or mesh, set the offset with a test line and then start the print. Each step takes seconds and saves hours of failed prints.
What to look for when buying a printer
If you do not want to think about this much, choose a printer with a reliable automatic leveling system, a rigid frame and a flat bed. Look for a printer that probes with the nozzle or measures at temperature, and has a clear process for setting the offset. Check owner feedback about how often relevel is needed after a few weeks.
The best 300mm 3D printers guide compares mid-sized machines on features like these, and it is useful if you want a printer that holds its calibration with little attention.
Slicer settings that help the first layer
Leveling is the mechanical half of a good first layer. The slicer settings are the other half. Printing the first layer slowly gives the plastic time to bond. A slightly higher temperature on the first layer improves adhesion. A wider first layer line width presses the plastic onto the bed more firmly. Cooling fans are usually off for the first layer or two.
- Slow the first layer speed so the plastic can grip.
- Use a first layer thicker than the rest, which tolerates small bed errors.
- Add a brim or a skirt to improve adhesion on small footprints.
- Keep the fan off until the part is anchored.
With these settings, a bed that is slightly imperfect still gives a good first layer. Without them, even a carefully leveled bed can struggle on tricky materials.
A short routine before each print
- Wipe the build surface with the cleaner the manufacturer recommends.
- Check the nozzle for a blob or a strand of old filament and clear it.
- Heat the bed and nozzle and let the temperatures settle.
- Run the automatic leveling routine if your printer has one, or confirm the manual level.
- Watch the first few lines of the first layer and adjust the offset if needed.
Those five steps take a few minutes, and they catch nearly every problem that would otherwise show up as a failed print hours later.
Bed temperature and material
Each filament has a preferred bed temperature. Too cool and the part does not stick. Too hot and the bottom layers soften and squash, creating a rough edge known as elephant foot. Warping, where corners lift as the part cools, comes from uneven contraction, and it is reduced by a heated bed, an enclosure and good adhesion.
Follow the filament maker's guidance for bed temperature, and let the bed reach a steady temperature before starting. A bed that is still heating while the print begins can change the nozzle gap during the first layer.
Frequently Asked Questions
Do I need to level my bed before every print?
Not usually. A stable printer holds its level for many prints, and automatic leveling can compensate at the start of each job. Recheck after transport, a nozzle change or when first layers start to fail.
Is automatic bed leveling better than manual?
It is more convenient and handles a warped bed better, but it still needs a correct Z offset and a reliable probe. A well-built manual setup on a flat bed can be just as reliable.
What is the Z offset?
It is the adjustment to the nozzle height relative to the probe's reference point. It sets the gap between the nozzle and the bed, which decides how well the first layer sticks.
Why does my print stick in one corner but not the other?
The bed is probably tilted or warped relative to the nozzle's path. Level the bed more carefully, or use a bed mesh to compensate.
Should I level the bed hot or cold?
Level at working temperature when you can, since heat expands the parts and changes the gap. Some printers measure automatically while hot.
Can a dirty bed cause leveling problems?
Dirt and oil do not change the gap, but they reduce adhesion, so a perfectly leveled bed can still fail. Clean the surface regularly.
How do I know my bed has warped?
Lay a straightedge across the cold bed and look for light under it, or run a bed mesh and look at the height map. A bed that is bowed or dished shows a clear pattern in the map. Mild warp can be compensated in software, while a severe bow is better corrected by replacing or flattening the plate.
Bottom line
Bed leveling is about a consistent gap between nozzle and bed, because the first layer decides whether a print survives. Manual leveling is simple and reliable on a flat bed, while automatic leveling maps the surface and compensates, especially on large beds. Either way, set the Z offset carefully, level at working temperature, keep the surface clean and read the first layer. A reliable first layer is worth more than any fancy setting that follows.