Two settings that change everything
You download a model, load it into the slicer and the estimated print time reads a day and a half. You change one number, the layer height, and the estimate falls to six hours. The print looks rougher on the side, but it is strong and done before dinner. That single dial is the fastest way to see what an FDM printer trades away or gains.
Layer height is half the story. The other half is the nozzle, the small hole the plastic leaves through. Together they define the size of every line the printer lays down, and understanding them lets you choose settings on purpose instead of copying a default.
How FDM builds a part
A fused deposition modeling printer melts a thermoplastic filament in a hot end and pushes it through a nozzle. The nozzle moves in a path, laying a thin ribbon of plastic, and the plastic cools and bonds to what is below it. When one layer is finished, the nozzle rises a small step and starts the next.
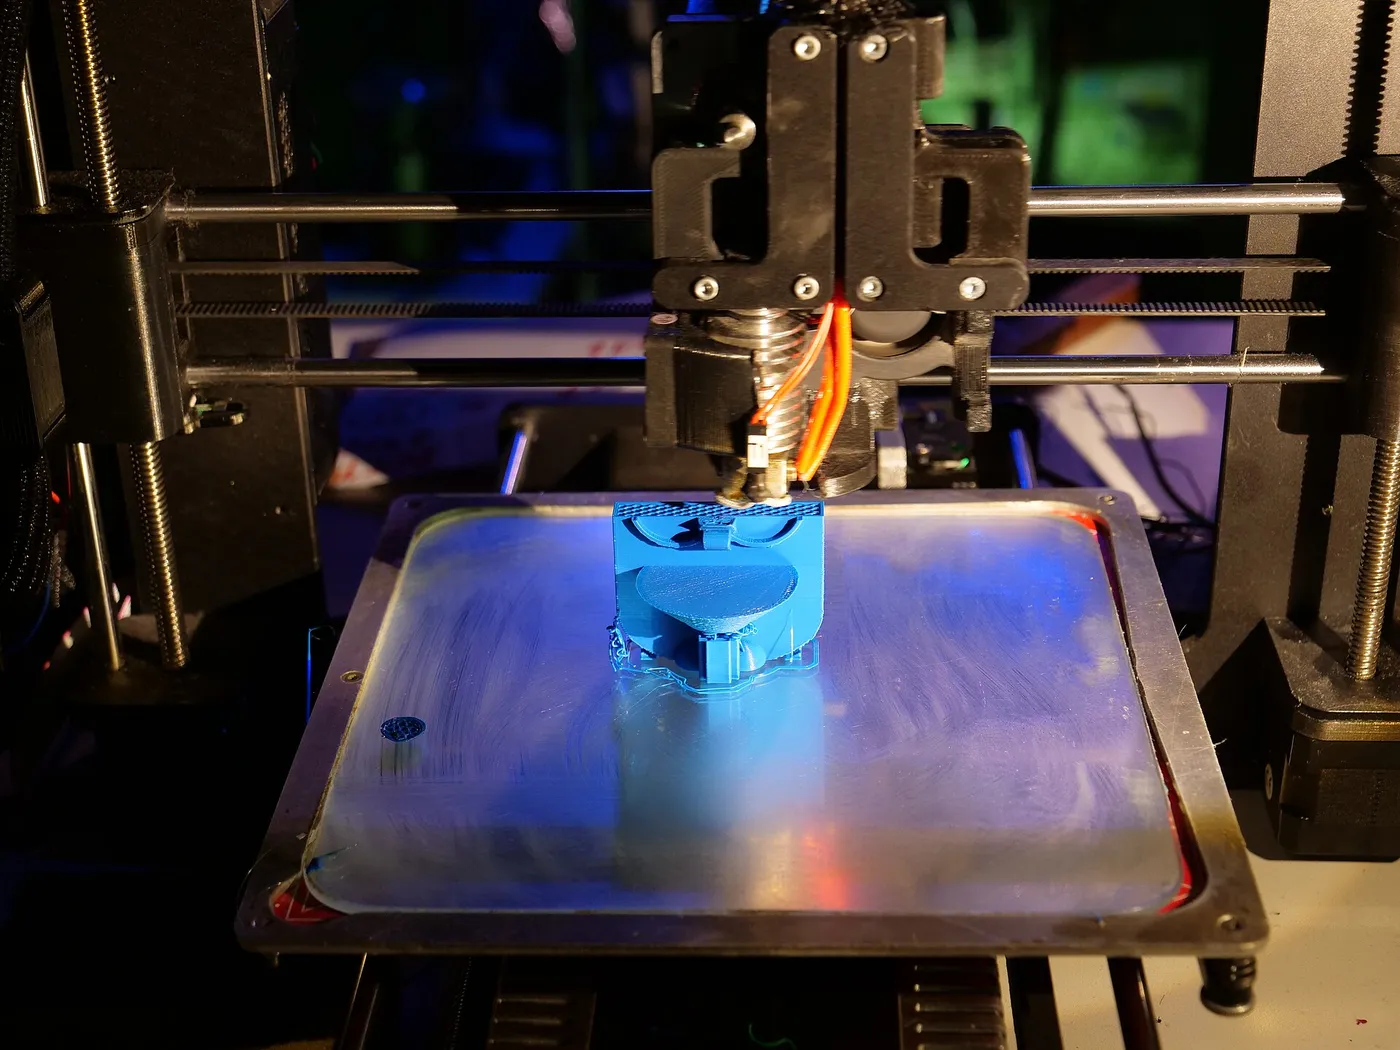
Each ribbon has a width and a height. The width is set mostly by the nozzle diameter and the line-width setting. The height is the layer height, which is the distance the nozzle rises per layer. Think of the part as a stack of flat, fused ribbons.
What nozzle diameter does
The nozzle diameter is the size of the opening. The most common size on consumer printers is a little under half a millimeter, and it is a good general compromise. A smaller opening lays thinner lines, which can render fine detail. A larger opening lays wider lines and pushes more plastic per second.
| Nozzle size | Strength | Weakness | Suited to |
|---|---|---|---|
| Small | Fine detail, sharp text and small features | Slow, clog prone, thin walls are weaker | Miniatures, small parts with detail |
| Standard | Balanced detail, speed and reliability | Not the best at either extreme | Most general printing |
| Large | Fast, strong walls, fewer layers | Rough detail, thick lines | Large functional parts, vases, prototypes |
The labels in the table are relative, not fixed sizes, because printers and hot ends offer a range of nozzle diameters. Check what your printer supports, and whether the nozzle can be swapped.
What layer height does
Layer height is the thickness of each layer. Thin layers produce a smoother surface, because the stair-step effect on curved or sloped surfaces is less visible. Thick layers leave visible lines but build the part faster, since the printer needs fewer layers to reach the same height.
Time scales roughly inversely with layer height. Halve the layer height and you need about twice as many layers, so the print takes close to twice as long. That is why the dial is so powerful for planning. A decision from a thick to a thin layer can change an afternoon into overnight.
The ratio rule
Layer height and nozzle diameter are linked. The plastic leaves the nozzle as a ribbon and is squashed onto the layer below. If the layer is too thin relative to the nozzle, the plastic has nowhere to go and gets squeezed out sideways, which can cause poor extrusion and a blobby surface. If it is too thick, the ribbon does not press into the layer below, and the bond between layers is weak.
A widely used rule of thumb keeps the layer height between about a quarter and three quarters of the nozzle diameter. A common sweet spot sits near half. This is a guideline from practice, not a law, and slicers often warn when you go outside it.
Strength and layer adhesion
FDM parts are strongest along the printed lines and weakest between layers, because each layer bonds to the one below. Thicker layers on a hot, well-fed extruder tend to bond well, because there is more heat and contact. A very thin layer cooled quickly can bond less strongly.
A larger nozzle also gives thicker walls with fewer lines, which often improves strength for functional parts. For a bracket or a tool holder, a bigger nozzle and thicker layers are often both faster and stronger than a fine setup. Fine settings are for appearance, not strength.
Surface quality and detail
Thin layers shine on curved surfaces, such as the top of a dome or the side of a sloped wall, where thick layers show steps. Vertical walls look similar at many layer heights, since the stepping is not visible on a straight vertical face. So you can often print a mostly vertical part at a thicker layer height and lose little.
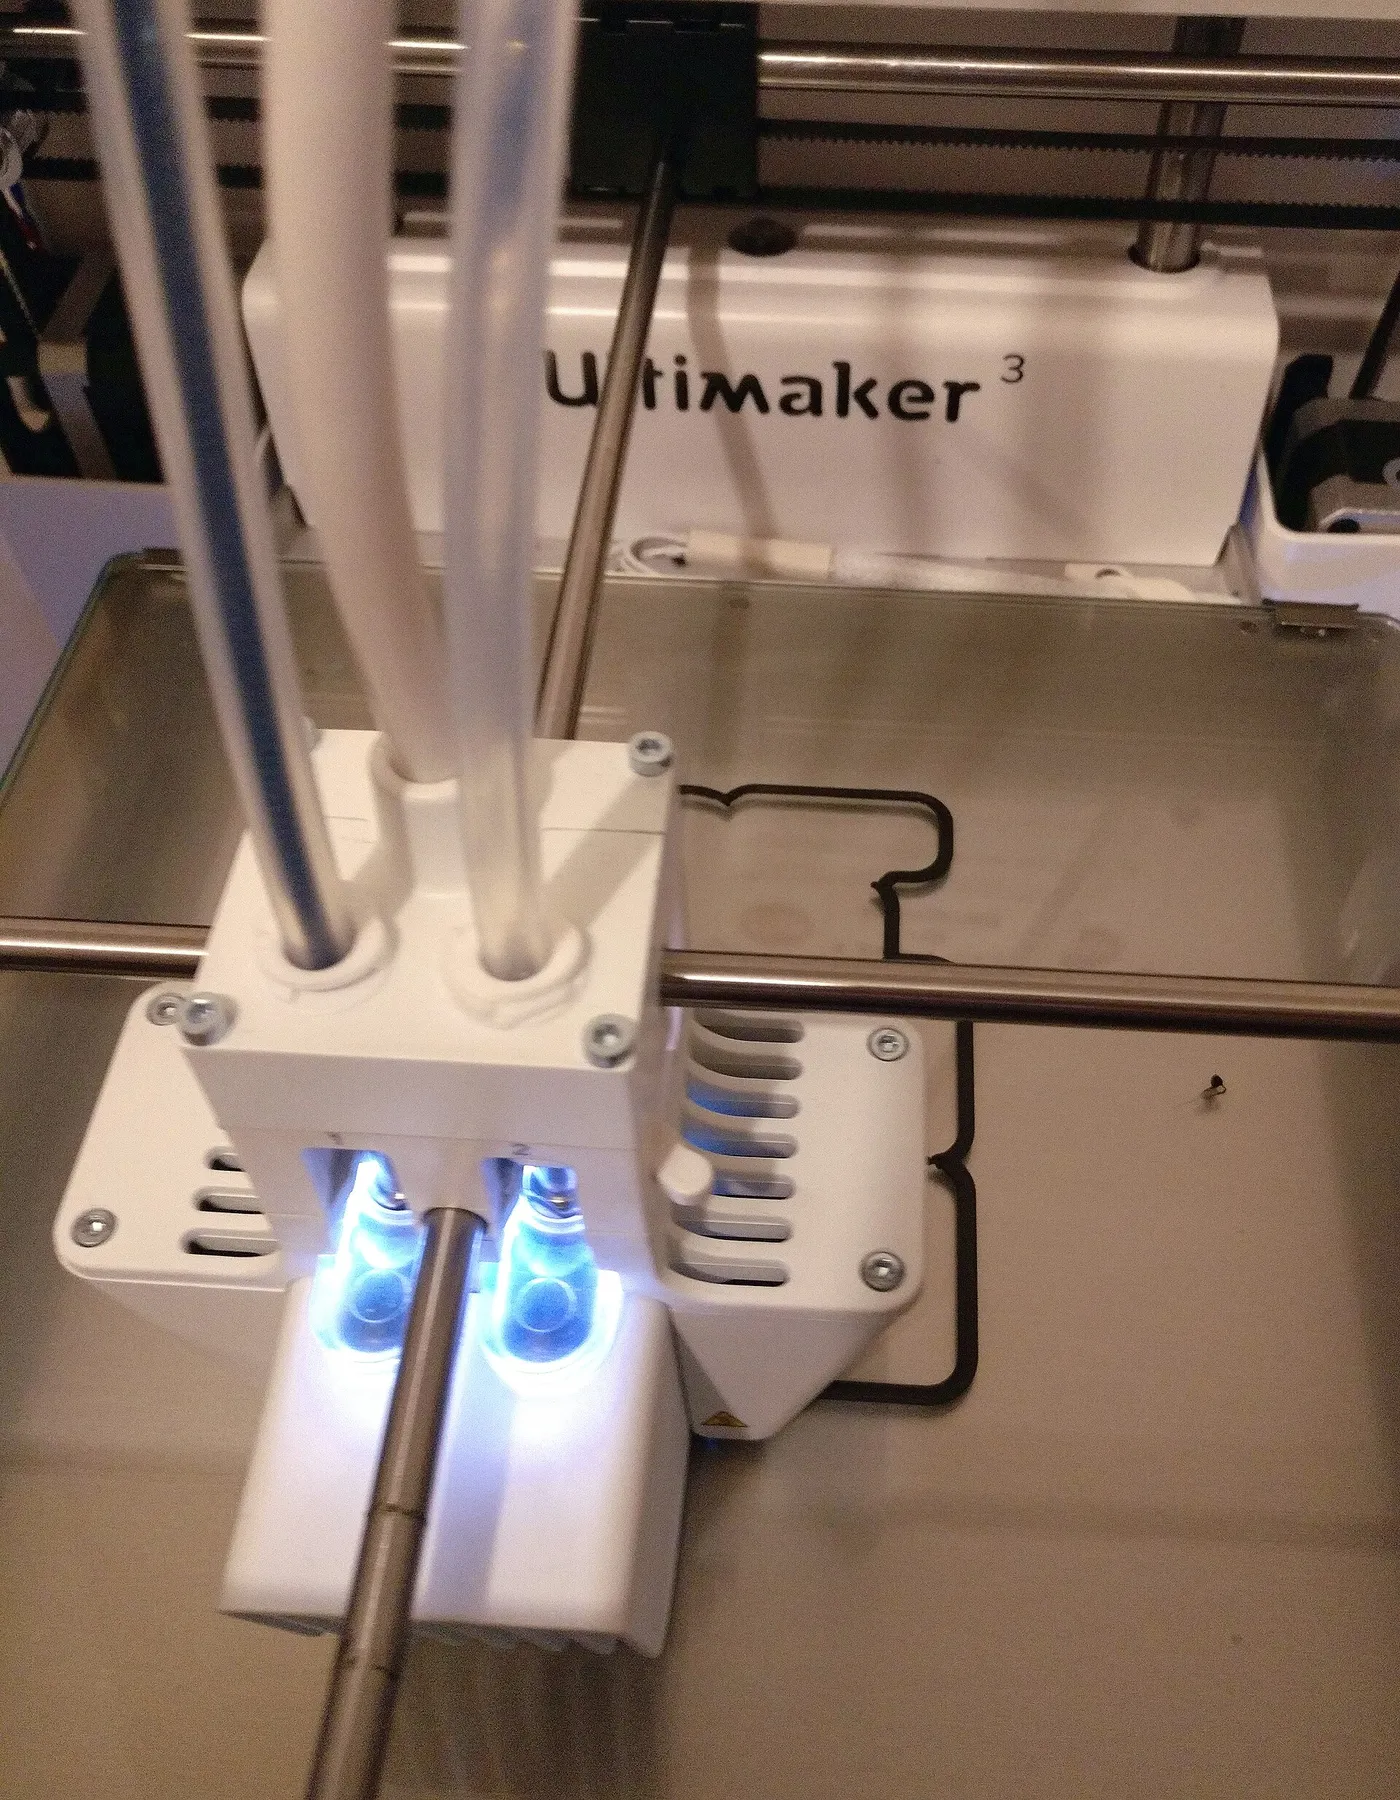
Detail in the horizontal plane depends on the line width, set by the nozzle. A standard nozzle cannot print a feature narrower than about its own line width. For small text, tiny gaps or fine miniature features, a smaller nozzle helps. Choosing layer height and nozzle together gives the best match for a given model.
Speed and volumetric flow
The real speed limit of a printer is how much plastic it can melt and push per second, called volumetric flow. A thicker layer and a wider line each increase the volume per millimeter of travel. If the hot end cannot melt that volume fast enough, the extrusion falls short and the print shows gaps.
That is why increasing speed alone does not always help. Raising layer height and nozzle size increases volume per movement, and the hot end becomes the bottleneck. Check your printer's hot end limit and your filament's recommended temperature, and tune flow before pushing speeds. The 3D printers in the best 3D printers guide differ in hot end design, which affects how fast they can go.
Print time and printer size
Large prints magnify the layer height effect. A tall part has thousands of layers, and halving the height adds hours. If you print big objects often, a larger nozzle is more valuable than on small prints, and a printer with a large build volume benefits from it most. Our guides to the 300mm and 400mm class printers cover machines where print time becomes a bigger concern.
For small, detailed prints, time is a smaller concern, and a finer layer can be worth it.
Clogging, materials and nozzle wear
Smaller nozzles clog more easily, since a bit of debris or a poorly dried filament blocks a narrow opening. Dry filament and clean hot ends help. Some filaments with additives, such as glass or carbon fiber blends, are abrasive and wear a standard brass nozzle quickly. A hardened steel or similar wear-resistant nozzle suits those materials.
Wear-resistant nozzles generally conduct heat differently, so temperature settings may need adjusting. Follow the filament maker's guidance and the printer's manual, and do not change nozzles while the hot end is cold, since the plastic needs to be soft for a clean removal.
Changing a nozzle and slicer settings
Many printers accept a range of nozzle sizes, and swapping is a routine task. After you change, you must tell the slicer the new diameter, because it calculates line width, flow and layer height limits from it. Forgetting to update the profile leaves the printer extruding the wrong amount.
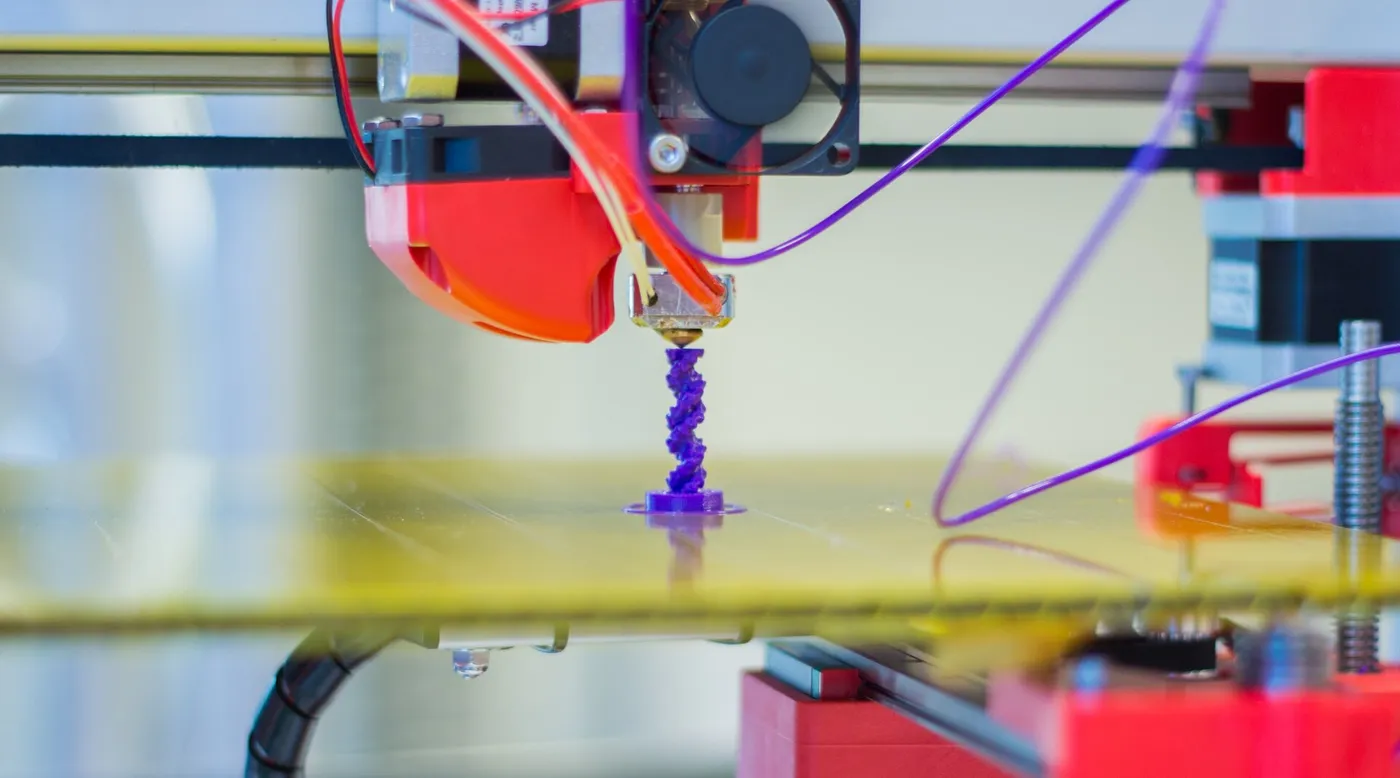
- Heat the hot end to a safe working temperature as the manual advises.
- Remove the old nozzle and fit the new one, snug but not overtightened.
- Update the nozzle diameter in the slicer profile.
- Recheck the first layer, since a different nozzle changes how the plastic squashes, as explained in our bed leveling guide.
The first layer is its own setting
Many slicers set the first layer thicker than the rest, because a thicker first layer is more forgiving of bed imperfections and sticks better. This is intentional, and it is not the same as your main layer height. A good first layer depends on a level bed and the correct nozzle height, which the leveling process sets.
If the first layer is poor, no layer height or nozzle choice will rescue the print. Get the first layer right before tuning anything else.
Choosing settings by goal
| Goal | Nozzle | Layer height |
|---|---|---|
| General household parts | Standard | Near half the nozzle diameter |
| Detailed miniatures | Small | Low end of the range |
| Fast draft or prototype | Standard or large | Upper end of the range |
| Large strong functional part | Large | Upper to middle of the range |
| Smooth curved display piece | Standard | Lower half of the range |
Walls, infill and how the nozzle shapes them
The nozzle sets the width of every wall line, so wall thickness is built from whole lines. A part with a wall made of two lines from a standard nozzle is twice that line width thick. A larger nozzle makes the same number of walls thicker, and a smaller one makes them thinner, so you need more lines to reach the same thickness.
That affects strength and detail. A very thin feature may be thinner than two lines, and the slicer may drop it or fill it with a single line. If a small part needs thin walls, a smaller nozzle lets the slicer fit more lines into a tight space. Infill, the pattern inside the part, is also laid with the same nozzle, and a bigger nozzle fills quickly with fewer, wider lines.
- For strength, increase wall count before increasing infill, since the outer walls carry most loads.
- For speed, use a larger nozzle and thicker layers together.
- For detail, reduce the nozzle size and the layer height together.
Line width and flow settings
Besides diameter and layer height, the slicer lets you set line width, which is how wide each extruded line is intended to be. A common choice is a line width slightly larger than the nozzle diameter, because the plastic squashes sideways and bonds better to its neighbors. Pushing it too far makes lines overlap and bulge, while a line narrower than the nozzle can starve the bond. Leave it at the profile default until you have a reason to change it, and calibrate flow with a simple test cube if walls look thick or thin.
Variable layer height and adaptive slicing
Some slicers can change layer height within a single print. Flat or vertical sections print with thick layers to save time, while curved or detailed sections print with thin layers where the stair-stepping would show. This gives a good surface where it matters and a shorter total time.
The feature works best for organic shapes, such as figurines and sculptures, with smooth curves mixed with flat areas. It requires a printer that can handle the changes in flow cleanly, and the slicer must stay within the safe range for the nozzle. If you print display pieces, try it and compare the print time with a uniform thin layer.
Common mistakes with nozzle and layer settings
- Choosing a layer height outside the safe range for the nozzle, then blaming the printer for poor adhesion or gaps.
- Changing the nozzle without updating the slicer profile.
- Printing abrasive filament through a soft brass nozzle until the hole widens and quality drifts.
- Chasing a very fine layer on a part with mostly vertical walls, where it adds time and no visible benefit.
- Raising speed without checking the hot end can melt that much plastic.
Avoiding these saves more time than any single clever setting, and it keeps the print quality consistent from one job to the next.
Finding your printer's sweet spot
Printers differ, and the best settings depend on the hot end, the filament and the room. A sensible approach is to print a small calibration part at a few layer heights and compare. Look at surface quality, layer bonding by trying to flex a test piece, and print time. The best setting for you is the thickest layer that gives a surface you are happy with.
Also check the flow limit with a test that prints at increasing speed or volume and see where the lines begin to thin or gap. That reveals the maximum flow your hot end can sustain with your filament, and it tells you whether a bigger nozzle would help. Record the results for each filament, because they change with material and temperature. The best 500mm 3D printers guide includes large machines where this tuning pays off most.
Material choice changes the best settings
Different filaments behave differently through the same nozzle. A flexible filament needs slow, steady extrusion and benefits from a larger nozzle that reduces back pressure. A filament that shrinks as it cools, such as some engineering plastics, favors thicker layers with good heat so layers bond before they contract. Common easy filaments tolerate a wide range of layer heights.
Always start from the filament maker's recommended temperature and speed, then adjust layer height and nozzle within the safe range. A change in material is a good moment to rerun a short calibration print rather than assuming last month's settings still hold.
When the printer itself is the limit
If you often want finer detail or faster output than your printer can give, the nozzle may not be the real constraint. Frame stiffness, motion system and hot end design set the practical limits. A rigid machine with a high-flow hot end can use thick layers and large nozzles at speed, while a lightweight frame shows ringing and artifacts when pushed.
Buying with your workload in mind helps. Large, functional parts benefit from a printer with a big build volume and a strong hot end, as covered in the 500mm printer guide. Small, detailed work benefits from a stable frame and fine motion control more than from sheer size. Think about the prints you make most, and match the machine to them.
Frequently Asked Questions
What is the best layer height for a 3D printer?
There is no single best. A layer height near half the nozzle diameter is a good general default, thinner for smooth curved surfaces and thicker for speed and strength.
Does a smaller nozzle make better prints?
It makes finer detail, but it prints slower and clogs more easily. For most parts, the standard nozzle is a better balance.
Are thicker layers weaker?
Not necessarily. Thicker layers on a well-heated extruder can bond very well, and bigger nozzles give thicker walls. Strength depends on layer adhesion, temperature, wall count and the orientation of the part.
Why does halving layer height double the print time?
The part needs twice as many layers to reach the same height, so the nozzle makes about twice as many passes. Time grows roughly in inverse proportion to layer height.
Do I need a hardened nozzle?
Only for abrasive filaments such as carbon fiber or glass fiber blends. Standard brass nozzles are fine for common plastics but wear quickly on abrasive materials.
Can I use any layer height I like?
Within the safe range of the nozzle and the printer's mechanics. Too thin or too thick can cause extrusion and adhesion problems, and slicers often warn when settings fall outside it.
Should I print the first layer at a different height?
Many slicers use a thicker first layer by default, and it is a good idea. A thicker first layer tolerates small bed imperfections and grips better. After that layer, the printer switches to your chosen layer height for the rest of the part.
Bottom line
Nozzle diameter sets the width of the plastic line, layer height sets its thickness, and the pair decides detail, strength and print time. Keep the layer height between a quarter and three quarters of the nozzle, start near half, and move toward thin layers for appearance or thick ones for speed. Match the nozzle to the job, mind clogging and wear, and get the first layer right. That gives you prints on purpose instead of by default.