
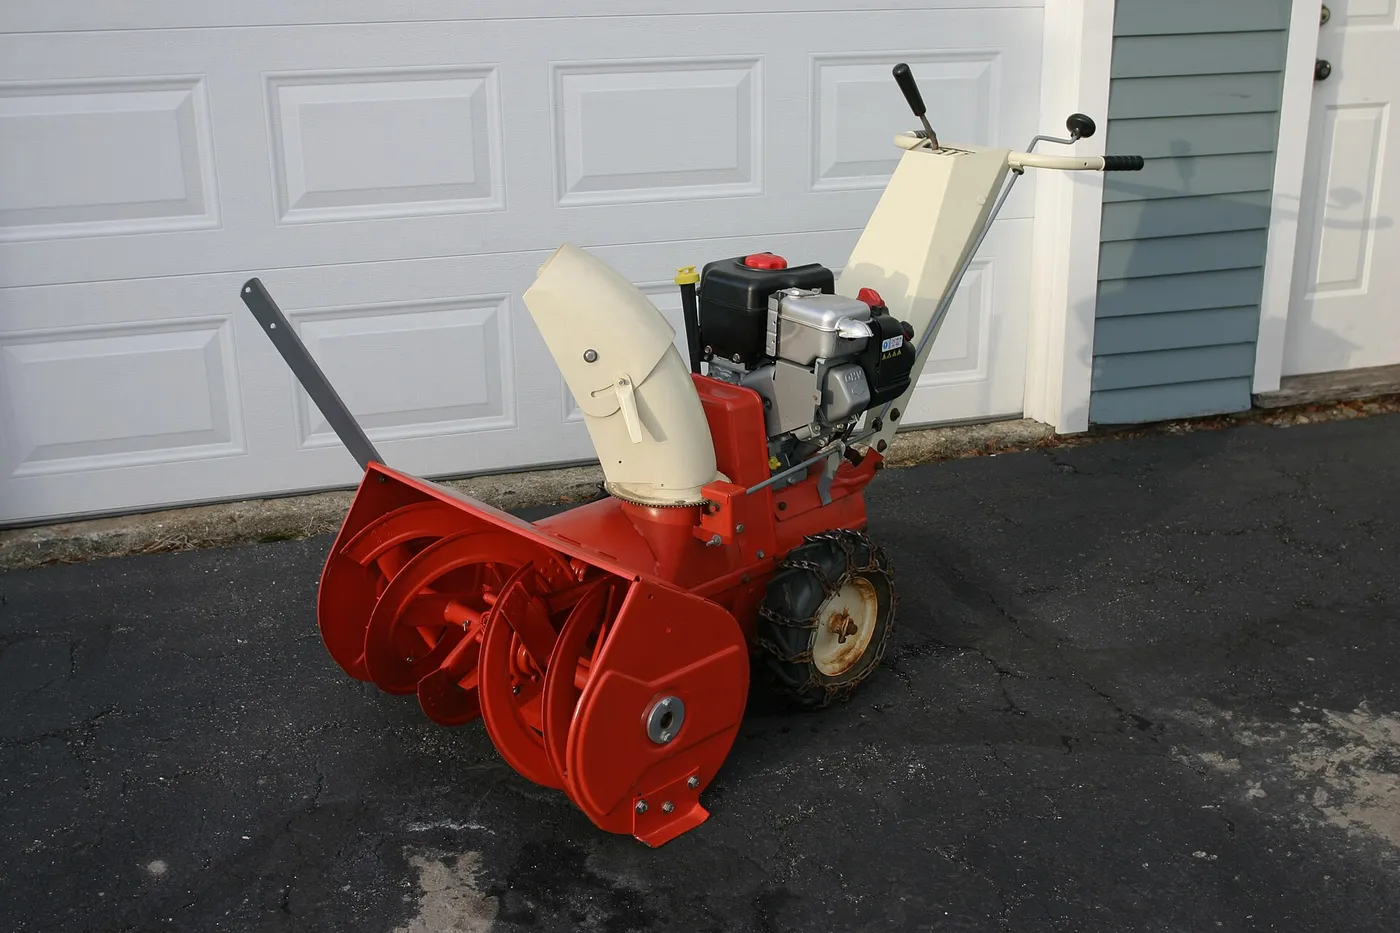
The gravel in the windshield
A familiar winter story involves a two-stage snow blower pushed across a gravel driveway with the shoes set for pavement. The auger digs in, picks up a handful of stones, and fires them through the chute at whatever stands in the way. A car windshield, a garage window or a neighbor's door takes the hit. The machine did exactly what it was set to do.
Skid shoe adjustment is the least glamorous part of owning a snow blower and one of the most consequential. It decides how close to the surface you clear, how much of the surface you damage, and whether the auger spends the day throwing snow or stones.
This article is the adjustment procedure and the reasoning behind each setting. Machine mechanics are covered in our single-stage versus two-stage comparison, and sizing is in the size guide.
What the parts are and what they do
On a two-stage machine, the housing that holds the auger rides on two skid shoes, one on each side. They are flat metal plates or runners that slide over the ground and bolt to the housing through slotted holes or a series of holes. Moving them up or down changes the clearance between the housing and the surface.
Along the bottom front edge of the housing runs a scraper bar, a replaceable steel or polymer strip. It forms the lip that scrapes the surface and guides snow into the auger. The distance between the scraper bar and the ground is the setting you are really adjusting, and the shoes control it.
A single-stage machine works differently, because its rubber auger touches the ground and it generally has no adjustable skid shoes in the same sense. Some have a small adjustment for the scraper height or a replaceable wear bar, so check the manual for your model rather than assuming.
The shoes wear down with use, and a worn shoe changes the clearance without you touching the bolts. That makes checking the shoes a regular part of seasonal maintenance, not only a one-time adjustment.
Why height matters
Set the shoes too low and the scraper bar bites the ground. On pavement that wears the bar and can catch cracks and expansion joints, jarring the machine. On gravel it throws stones and digs ruts. On a lawn or soft ground it tears turf.
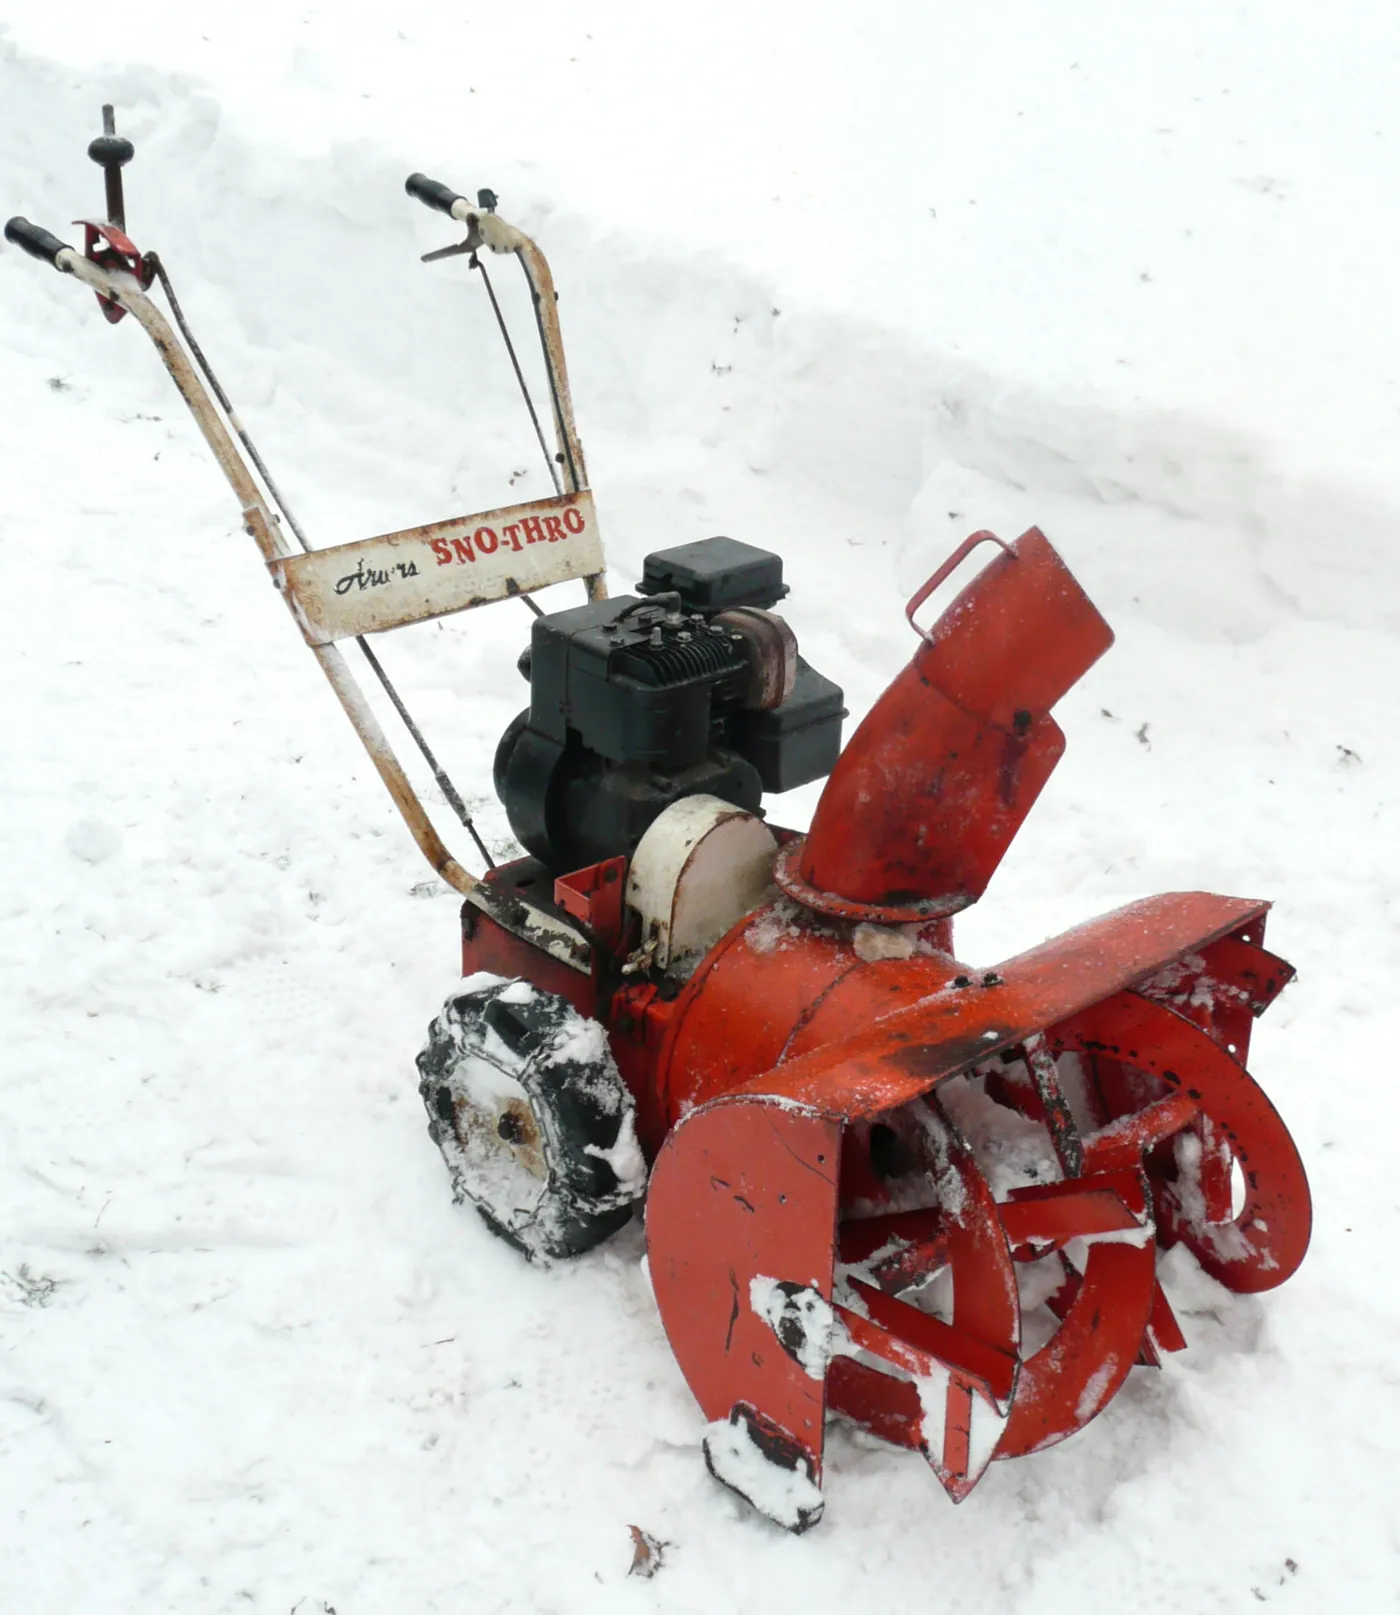
Set them too high and a layer of snow stays behind, because the auger and scraper never reach the surface. A thin layer is sometimes acceptable, particularly when the ground is cold and the layer will sublimate or melt, but a thick layer of compacted snow turns to ice under traffic.
The right height is the one that clears as much as the surface can tolerate without picking up material that is not snow. That is a different setting for each surface, and it is why one fixed setting never suits an owner with both a paved apron and a gravel drive.
Safety before any adjustment
Work on a flat, level surface so the machine sits squarely. Wear sturdy gloves, since the housing edges and bolts can be sharp, and eye protection in case a spring or rust flakes fall. If the machine is heavy, get help tipping it, following the manual's guidance on which way to tilt. On a gas machine, tipping it the wrong way can flood the engine with oil or fuel.
Keep your hands clear of any pinch points, and do not use your hands to clear a blockage. Use the clearing tool that came with the machine, or a stick, and only with the machine fully shut off.
The adjustment procedure, step by step
Always read your manual first, because mounting details differ between brands. The sequence below describes the common approach on a two-stage machine.
- Park the machine on a flat, hard, level surface, such as a garage floor or the paved drive.
- Shut it down fully, remove the key or battery, and wait for all moving parts to stop.
- Locate the skid shoes on each side of the housing and find the mounting bolts or nuts.
- Loosen the bolts on both shoes enough that the shoes can slide, without removing them.
- Set the shoes to the position you want. To clear close to pavement, slide them up so the scraper bar sits only a small distance above the surface. To protect gravel or rough ground, slide them down so the housing rides higher.
- Check that both shoes are set to the same height, so the housing sits level and the scraper bar sits evenly across its width. An uneven setting leaves a strip of snow on one side.
- Tighten the bolts firmly, then recheck the clearance and walk the machine forward and back to confirm it rolls without dragging.
On some machines the shoes can be reversed or flipped to provide a second wear surface once one side has worn. If your shoes are thin, worn or bent, replace them rather than adjusting them further.
Settings by surface
| Surface | Shoe position | Why |
|---|---|---|
| Smooth asphalt or concrete | Raised so the scraper bar sits a small, fixed gap above the surface, about an eighth of an inch is a common starting point | Clears close to the surface without wearing the bar |
| Rough or cracked pavement | A little higher than for smooth pavement | Avoids catching cracks and heaved edges |
| Gravel and crushed stone | Lowered so the scraper bar rides about an inch or more above the ground | Leaves a snow layer rather than lifting stones into the auger |
| Pavers and flagstone | A middle position, checked by eye | Prevents the bar from catching uneven joints |
| Lawn edge or soft ground | Fully lowered, avoid clearing there if possible | Protects the turf from tearing |
The figures are rules of thumb, and your manual may give different values. Treat them as a starting point, then check the result on the first pass and make small changes.
Checking and replacing the scraper bar
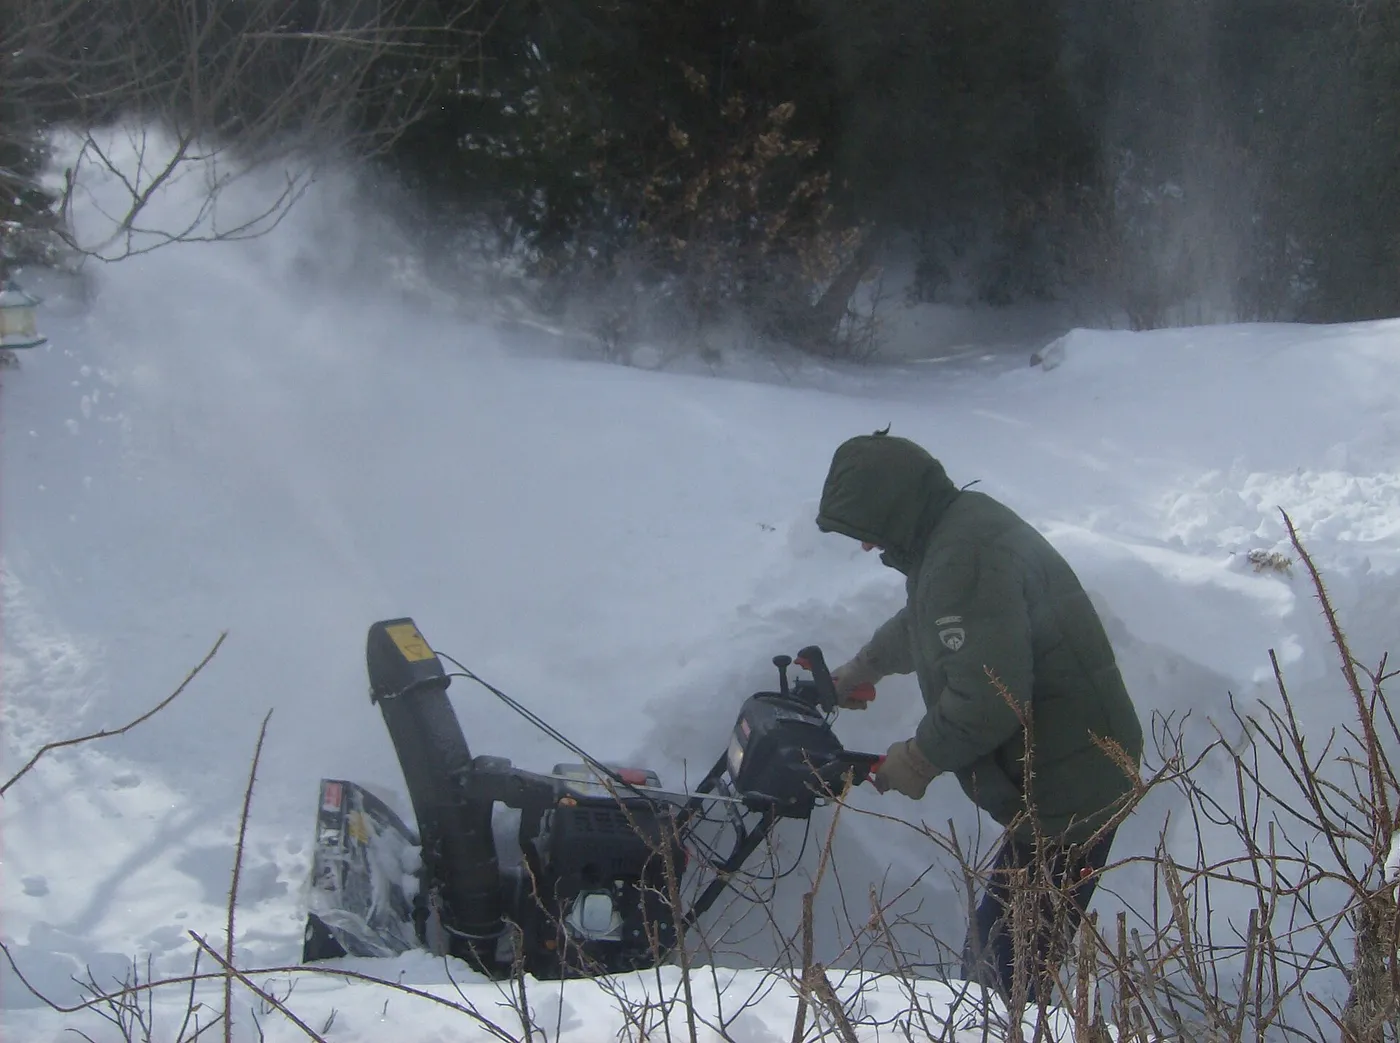
The scraper bar is a consumable. As it wears, the distance between the bar and the ground increases, even if the shoes have not moved, and the machine starts to leave a thicker layer of snow. Compare the bar to a new one, or check the wear limit in the manual.
Many bars are reversible or double-sided, and you can flip them once to use a fresh edge. When both edges are worn, replace the bar. Use the correct part for your model, and tighten the carriage bolts evenly.
A bent scraper bar also causes uneven clearing and vibration. If the bar has struck a curb or a heavy obstacle, inspect it and straighten or replace it before the next storm. Check the bolts that hold it, since vibration can loosen them.
Replace the shoes as a pair when they are worn, so both sides stay matched. A worn shoe on one side tilts the housing and degrades the clearing pattern across the whole width.
Testing the setting on the first pass
Do not assume a setting is right because the bolts are tight. On the first pass of the season, work a short strip at low speed, then look at what is left on the surface and what has been thrown. If a thin layer of snow remains and you want less, lower the scraper bar slightly by raising the shoes a notch. If you hear stones or see gravel in the discharge, lift the housing higher at once.
Check a section of your drive that has the worst surface, because that is where the setting is tested. A spot with a raised crack will show you whether the bar catches. Make one small change at a time and test again.
It also helps to adjust in the autumn, before the first storm, when the ground is bare. You can see the surface clearly, and any gap between the scraper bar and the pavement is easy to measure with a scrap of wood or a feeler of the right thickness.
Drives with more than one surface
Many properties have paved and gravel areas, or a paved apron that leads onto a gravel pad. Resetting the shoes for every change is a nuisance, and owners tend to skip it, which is how stones get thrown. A simple approach is to set the shoes for the most vulnerable surface and accept a little extra snow left on the better one.
Alternatively, clear the gravel section first with the shoes lowered, then adjust and clear the paved section. Because it adds only a couple of minutes, that discipline protects your property and your machine.
If you spend most of your time on gravel, consider a machine with large, adjustable shoes and a cutting edge designed for it. When you compare machines, check how easily the shoes adjust, because a design that requires tools and awkward bolts invites shortcuts. You can see how different machines handle adjustment features in our snow blower roundup.
Packed snow and ice: when the setting changes
Conditions matter as much as surface. On packed snow or a hard ice layer, a scraper bar set high simply rides over the top, leaving the ice untouched. Lowering the bar slightly lets it bite into the packed layer, but only on a surface that can tolerate it. On pavement that is usually acceptable, and on gravel it is not.
An ice layer on gravel is a trap. The surface looks smooth, but the stones are frozen in place and any attempt to scrape the ice pulls the stones with it. In that situation, leave the ice, clear the loose snow above it, and rely on traction aids or ice melt rather than forcing the scraper lower.
Fresh, light snow is the forgiving case, and a slightly higher setting is fine because the auger and impeller can pick up the whole layer anyway. Heavy, wet snow can bury the scraper bar and push the whole machine upward, which makes the clearance seem larger than it is. Slow the drive speed in that case so the housing stays down.
A gravel driveway routine that works
Gravel drives need a routine, and a good one is simple. Before the first snow, lay the driveway out in your mind and note where the gravel is thinnest or loose. After a storm, begin with the shoes lowered and the machine set to its slowest forward speed. Slow speed lets the impeller clear the snow without the auger being forced into the surface.
Leave a thin layer of snow rather than chasing bare ground. That layer protects the gravel and keeps it in place, and sunlight, salt or sand traction aids handle the rest. Resist the urge to lower the bar for a second pass, because that is when stones fly.
In spring, rake any displaced gravel back into place. A season of careful clearing still shifts some stone to the edges, and a quick rake keeps the surface level and the next winter's clearing easier.
Common mistakes
- Setting the shoes unevenly, so one side clears more than the other.
- Ignoring shoe wear until the machine leaves a layer of ice across the drive.
- Using the pavement setting on gravel, and firing stones through the chute.
- Forgetting to retighten the bolts, so the shoes slip on the first bump.
- Adjusting with the machine still running or the key in the ignition.
- Using a single-stage machine on gravel, which is the wrong tool whatever the setting.
Another mistake is tilting the machine the wrong way to get at the shoes. On gas models, follow the manual's instructions about which side to tip so that oil and fuel stay where they belong.
End-of-season check and storage
At the end of winter, look at the shoes and scraper bar while the machine is clean and dry. Note how much metal is left, and order replacements in spring when stock is plentiful instead of in the first storm. Wipe off salt, which attacks bare steel, and consider a light coat of spray lubricant on the adjustment bolts so they turn easily next autumn.
Seized bolts are a common reason owners skip adjustment. A bolt rusted solid by a season of salt and slush can strip its head or snap, turning a two-minute adjustment into a repair. A little penetrating oil and anti-seize on reassembly keeps the hardware serviceable.
Notes for battery machines
The same principles apply to battery two-stage machines, with one extra step. Always remove the battery before adjusting. Cordless machines start instantly and silently, and the risk of an accidental start while your hands are near the auger is a real hazard.
Because battery machines are often lighter, they can be easier to tip for adjustment, but the same care applies. If you are curious about how cordless machines cope with heavy conditions, see our battery snow blower article and the 40V snow blower roundup.
Frequently Asked Questions
What do snow blower skid shoes do?
They are runners on each side of the housing that set the height of the scraper bar and auger above the surface. Adjusting them lets you clear closer on pavement or ride higher over gravel.
How high should the skid shoes be set on gravel?
Set them so the scraper bar rides roughly an inch or more above the gravel, or as your manual specifies. A higher setting leaves some snow behind but prevents the auger from picking up and throwing stones.
How do I know if my skid shoes are worn?
Look for thinned, bent or cracked metal, and notice whether the machine leaves a thicker layer of snow than before at the same setting. Replace worn shoes in pairs.
Do single-stage machines have skid shoes?
Not in the same way. Their rubber auger touches the ground. Some have scraper adjustments or wear parts, so check your manual, but a single-stage machine is not suited to gravel.
Can I adjust the shoes while the machine is running?
No. Always shut off the machine, remove the key or battery, and wait for every moving part to stop before you touch the housing or shoes.
How often should I check them?
Check at the start of each season and again if you hit a curb or hard obstacle. Recheck after the first few uses, because bolts can loosen under vibration.
Bottom line
Skid shoe height is the setting that decides whether your snow blower clears cleanly or throws gravel. Raise the scraper bar clearance over gravel and rough ground, lower it for smooth pavement, keep both sides even, and replace worn shoes and scraper bars before they cost you results.
Always shut the machine fully down before you touch it, test the setting on a short strip, and adjust one small step at a time. A few minutes of set-up in autumn saves broken windows and ruined drives all winter.