
The wet clay brick
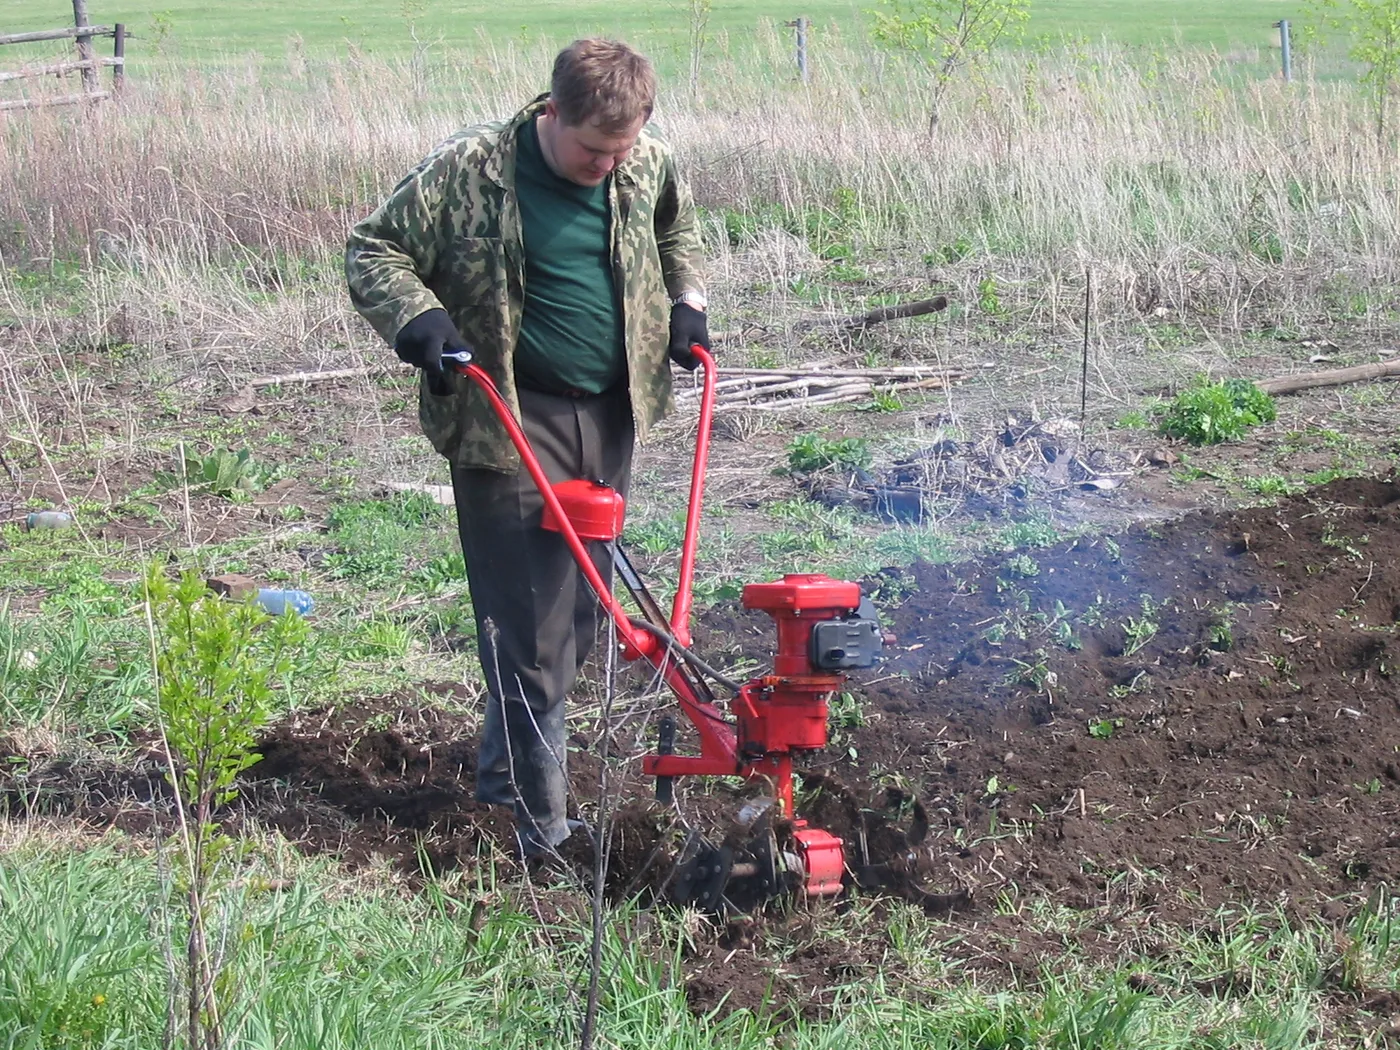
An eager gardener fires up the tiller on the first warm weekend of spring. The soil looks dark and ready, the machine digs in happily, and the plot looks fresh and fluffy for a day. Then it rains, the sun comes out, and the bed bakes into hard clods that no seedling can push through. The tilling did not prepare the soil, it ruined it.
Timing and depth are the two decisions that separate a productive bed from a damaged one. Tilling a soil that is too wet smears and compacts it. Tilling too deep, too often, turns a living structure into powder. The machine does exactly what you ask, so the judgement is yours.
This article owns timing and depth. Which machine to use is covered in our front-tine versus rear-tine comparison, and the related question of relieving compaction in lawns is in the aerator article.
What tilling actually does
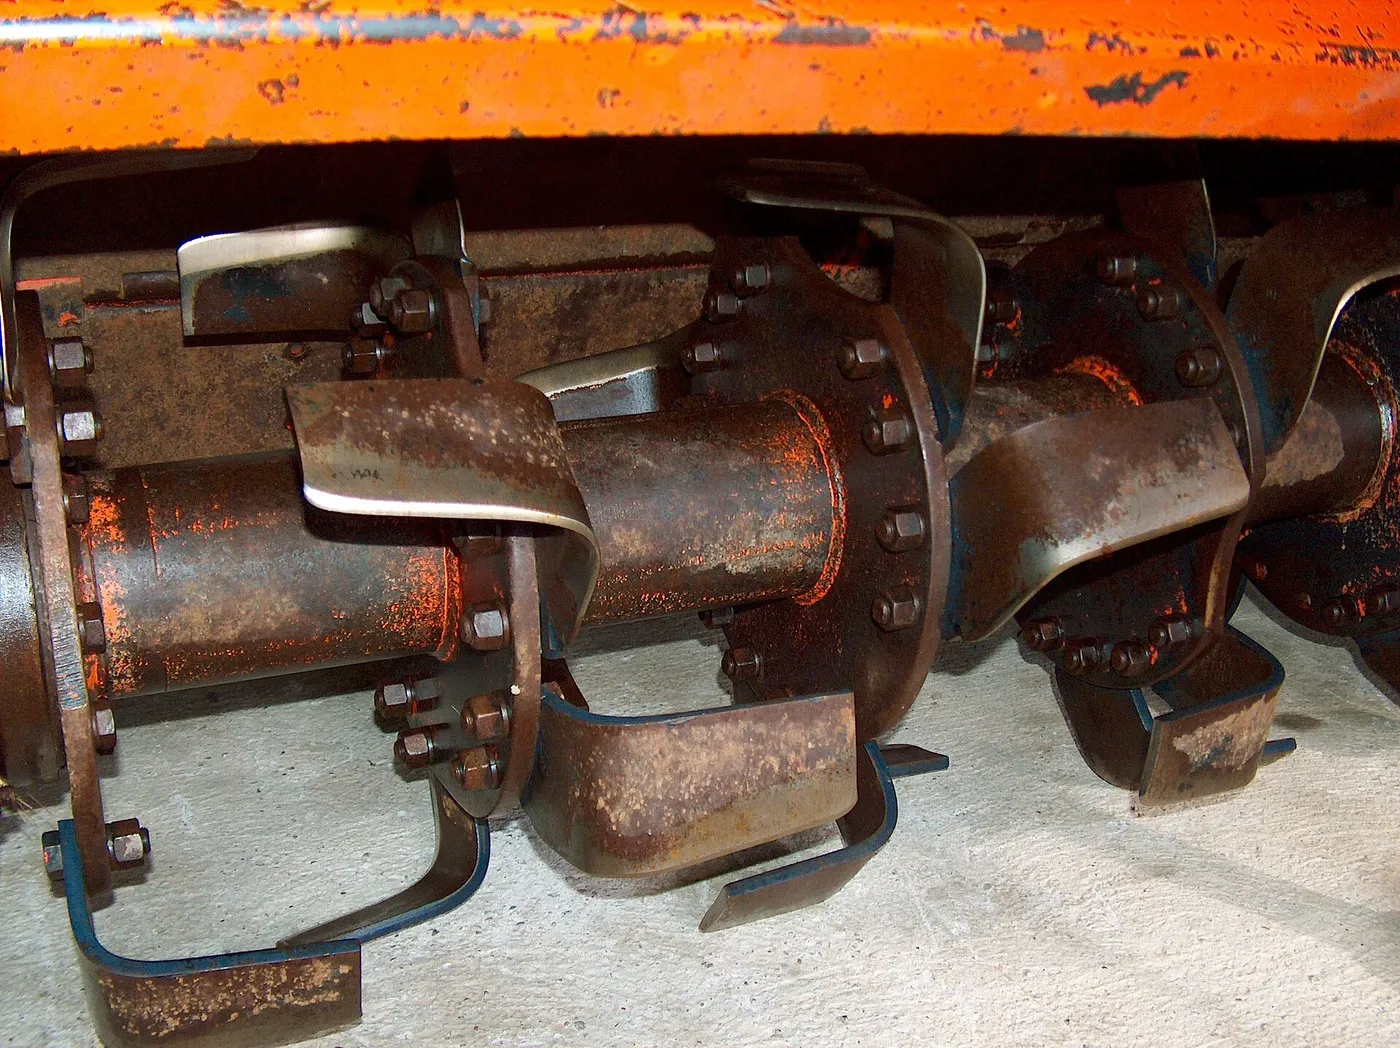
Tilling mixes and loosens the top layer of soil with spinning tines. It breaks up clods, buries or chops surface material, mixes in amendments and creates a fine seedbed where small seeds can sprout. In a new plot, it breaks the sod and opens ground that has never been worked.
It also has costs. Tilling breaks the aggregates, the small crumbs that hold air and water pockets, and the channels created by roots and earthworms. It exposes soil organic matter to air, which speeds its decomposition. It can bring buried weed seeds into light, so a flush of weeds follows. And repeated tilling at the same depth can create a hard layer, often called a tillage pan, just below the tines.
None of this means tilling is wrong. For a new bed, heavily compacted ground or incorporating large amounts of compost, it can be the fastest route. The point is that tilling is a tool to be used as needed, not a ritual to be performed every spring at full depth.
When to till: the calendar
Spring is the traditional time, once the ground has thawed and dried enough to work. The soil should be workable, not frozen, and not saturated. Depending on climate, that can mean early spring in mild regions or late spring in cold ones. Do not rely on a date. Rely on the soil.
Autumn tilling is another option, especially for new beds or heavy clay. Turning the soil in autumn lets frost break the clods over winter, which leaves a crumbly surface in spring. It also gives you time to work in compost or leaves, which break down before planting. The drawback is that bare, tilled soil is exposed to erosion and nutrient loss over winter, so cover it with mulch or a cover crop.
Avoid tilling during or right after heavy rain, in the heat of a dry spell when the soil turns to dust, or when the ground is still frozen below the surface. And avoid tilling near the roots of established plants, where tines can slice them.
The squeeze test for soil moisture
A simple hand test tells you whether the soil is ready. Take a handful from a few inches down, squeeze it into a ball, then press it with your thumb or tap it. If it forms a wet, sticky ball that stays together and smears, it is too wet. If it crumbles into loose pieces when pressed, it is ready. If it will not hold a ball at all and is powder-dry, it is too dry for good structure and may raise dust.
| Squeeze result | What it means | What to do |
|---|---|---|
| Forms a wet, slick ball that smears | Too wet, tilling will compact and smear | Wait a few days and test again |
| Forms a ball that breaks apart when poked | Ready, workable moisture | Till now |
| Will not hold a ball, falls to loose crumbs or dust | Too dry, tilling raises dust and breaks the soil into powder | Water lightly and wait, or till shallowly |
| Frozen or crusty at depth | Not workable | Wait for a full thaw |
The test is quick, free and far more reliable than the calendar. Do it in several spots, because low areas and shaded corners hold water longer. Clay soils stay wet for longer than sandy soils, so a clay bed may be ready a week after a sandy one.
How deep for a new bed
When you are breaking new ground, deeper tilling makes sense, because you are creating a root zone where none existed. A depth of about 6 to 8 inches is commonly recommended for new vegetable beds. That gives roots space, mixes in amendments and breaks the sod layer.
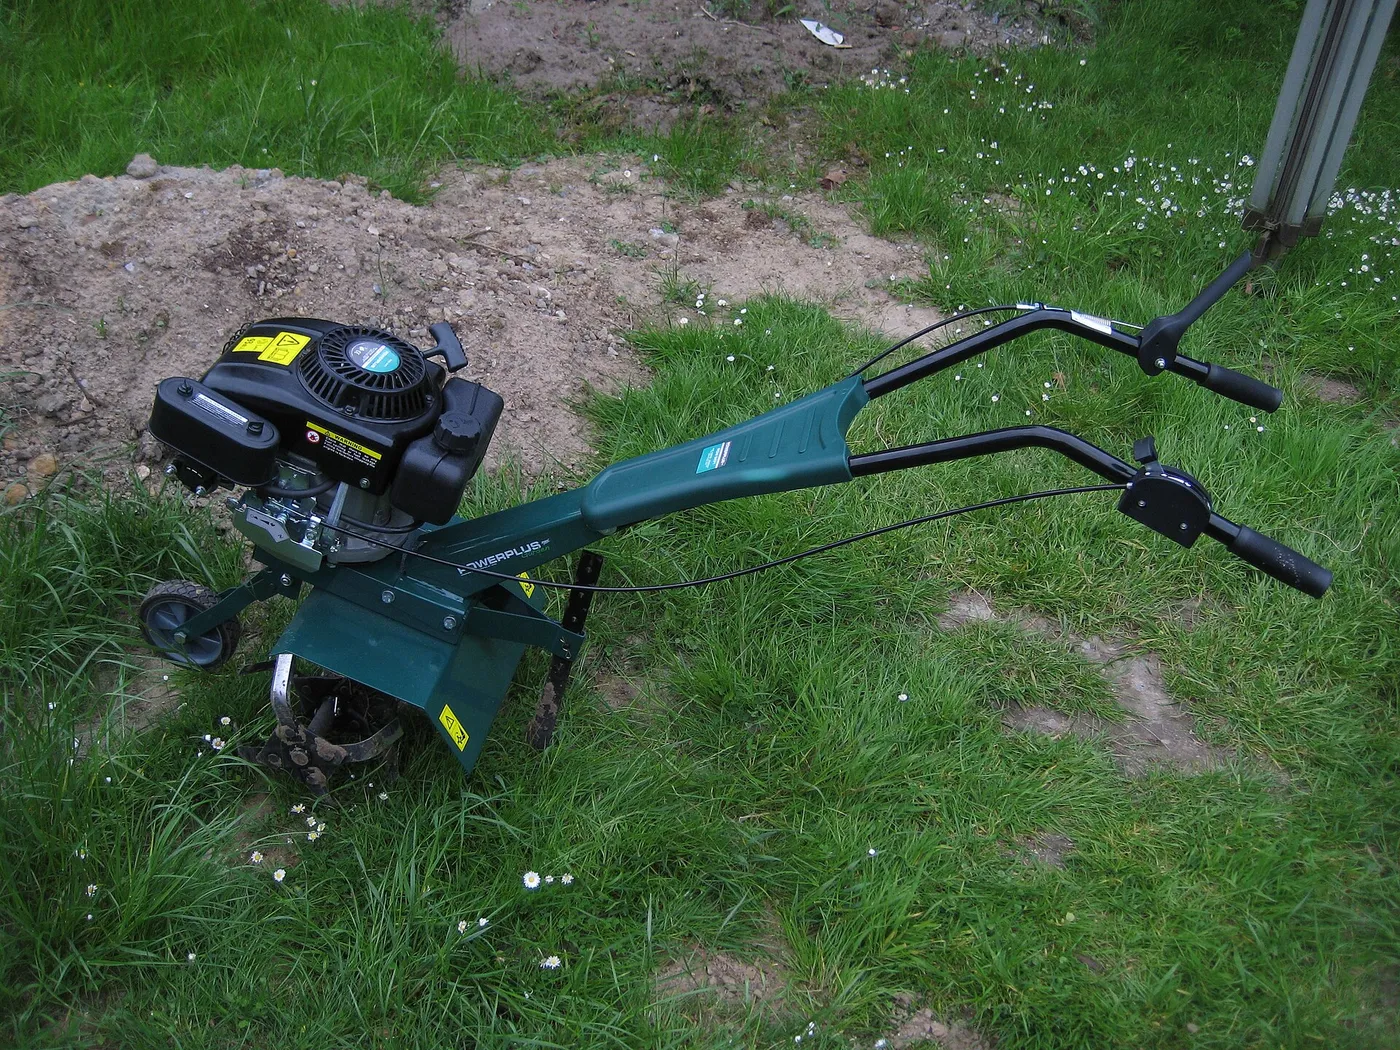
Depth is not reached in one pass. On a hard plot, make several passes, each a little deeper than the last, by adjusting the depth stake or bar. A first shallow pass breaks the surface, and later passes go down. Forcing a tiller to its maximum depth in a single pass on hard soil stresses the machine and the operator.
If you are removing sod, remove it first with a spade or sod cutter where practical, or till it in and let it rot. Tilling sod in leaves lumpy, stringy ground that takes time to break down, so some gardeners till in autumn and let winter do the rest.
How deep for routine seedbed prep
For an established bed, you do not need to go as deep. A depth of about 2 to 4 inches is typically enough to loosen the surface, incorporate amendments and create a fine seedbed. Roots of established vegetables do not depend on tilling depth, since they explore the soil on their own.
Going deeper than necessary has costs. It brings up weed seeds, breaks structure and uses more fuel or battery. If the soil is already loose and healthy, you may only need a light surface cultivation, or even none at all. Many gardeners switch to no-dig or minimal-till methods once a bed is established.
Think of tilling as maintenance with a purpose. Till to incorporate compost, to break a crust or to prepare a seedbed for small seeds such as carrots and lettuce. If you are planting transplants into loose soil, you may not need to till the whole bed at all.
Adding compost and amendments
Tilling is an efficient way to mix amendments into the soil. Spread compost, aged manure or other organic matter over the surface first, then till it in to the working depth. This distributes the material through the root zone instead of leaving a layer on top.
Follow the guidance on soil testing. A soil test reports pH and nutrient levels, so you add what the soil actually lacks. Lime, sulfur and fertilisers should be worked in at the rates the test recommends. Guessing adds cost and can harm the soil.
Be careful with fresh, unfinished organic matter. Material that is still breaking down can tie up nitrogen in the soil for a while, so give it time before planting, or use finished compost. For beds where pests or diseases are a concern, avoid tilling in infected plant debris, and dispose of it separately.
The over-tilling problem
Over-tilling is the most common error. Gardeners who till every spring at full depth, perhaps twice, with a fine, fluffy result in mind, are slowly degrading the soil. The fine powder looks lovely, but it slumps under rain, forms a crust and loses its crumb structure.
Signs of over-tilling include a hard crust after rain, water that runs off instead of soaking in, fewer earthworms, and a persistent flush of weeds. The soil may feel hard below the tilled layer, where a pan has formed.
To recover, reduce tilling, add organic matter regularly, and keep the soil covered with mulch or cover crops. Over a few seasons, structure improves. If you suspect a hard layer, a broadfork or a deeper, single pass in good conditions can break it up, followed by organic matter and minimal disturbance.
How soil type changes the timing
Clay holds water, and clay particles stick together when worked wet. A clay bed can stay unworkable for days after a rain that a sandy bed shrugs off in hours. Clay also dries to a hard, cloddy state if tilled too wet, so patience here pays off. Work clay when it is just moist enough to crumble, and never when it ribbons between your fingers.
Sandy soil drains fast and dries quickly. It is workable earlier in spring, but it loses moisture and organic matter quickly when tilled, so it benefits from shallow tilling and plenty of compost. Tilling dry sand in a wind raises dust and dries the root zone further.
Loam sits between the two and forgives most mistakes. Silty soils can crust and compact easily under rain after tilling, so protect them with mulch. Whatever you have, a quick test with a spade and the squeeze method tells you more than a general rule.
Cover crops, mulch and what to do after tilling
Bare, freshly tilled soil is the most vulnerable it will ever be. Rain can seal the surface into a crust, wind can take the fines and weeds can sprout within days. Plan to cover the bed soon after tilling, either by planting or mulching.
A cover crop, such as a winter rye or a clover, planted after autumn tilling holds the soil over winter and adds organic matter when turned in the following spring. Mulch with straw, leaves or chips protects the soil in the growing season, suppresses weeds and keeps moisture even.
When you mulch with wood chips, keep them on the surface rather than tilling them in, since fresh chips can tie up soil nitrogen as they break down. If you produce chips yourself, our article on chippers and shredders explains which machine suits your waste. Straw and shredded leaves are gentler options for a vegetable bed.
Simple tools for checking your soil
A garden spade is the best soil-testing tool you own. Dig a small hole and look at the profile: loose, crumbly soil with roots and worms is healthy, while dense, layered or grey soil with few roots points to compaction. Notice how deep roots go, and whether there is a hard layer that stops them.
A long screwdriver or a soil probe pushed into the ground gives a feel for compaction. If it slides in easily to several inches and then stops against resistance, you have found a hard layer. Doing this in a few spots before and after tilling tells you whether the work reached the problem.
A basic soil test kit or a lab test tells you pH and nutrient levels. It is worth doing every few years, and certainly before adding lime or fertiliser. Knowing what is in the soil makes tilling more purposeful, since you mix in what is needed instead of guessing.
Slopes, erosion and bare soil
Tilled soil is loose, and loose soil moves. On a slope, a heavy rain can wash away topsoil from a freshly tilled bed in a single storm. Till across the slope rather than up and down, avoid tilling steep ground, and cover bare soil with mulch or a cover crop quickly.
Wind can also carry dust from dry, fine soil. If your area is windy, till when the soil is slightly moist, not dusty, and plant or mulch soon after. Leaving soil bare for weeks gives weeds a head start and exposes it to the weather.
Consider using raised beds for sloped or poor ground. A raised bed filled with good soil can be tilled lightly or not at all, and it avoids many of the problems of working large areas of exposed ground.
Alternatives to tilling
Tilling is not the only way to prepare a bed. Sheet mulching, also called lasagna gardening, layers cardboard, compost and mulch over grass and lets it decompose without digging. Broadforking loosens the soil without inverting it. Hand digging suits small beds, and no-dig gardening adds compost to the surface and lets worms do the mixing.
These methods preserve structure and reduce weed pressure, and they suit small beds and gardeners who dislike machines. For large areas or hard ground, tilling is faster, so a mix often works best: till once to break new ground, then switch to low-disturbance methods for upkeep.
If you do use a machine, choose one suited to the plot. A small electric tiller is fine for loosened beds, as in our roundups of electric tillers and small electric tillers.
A simple, repeatable routine
- Check the soil with the squeeze test in several spots, and wait if it is wet or frozen.
- Mark and clear buried hazards, rocks and large roots, and note irrigation lines.
- Spread any compost or amendments over the surface, based on a soil test if you have one.
- Set the depth for the job: deeper for new beds, shallow for upkeep.
- Till in several passes, going a little deeper each time if you need depth, and work across slopes.
- Rake the surface level, then plant or mulch promptly to protect the soil.
Wear sturdy boots and eye protection, and keep hands and feet clear of the tines. Switch off and wait for the tines to stop before clearing any tangle.
Frequently Asked Questions
When is the best time to till a garden?
When the soil is workable, which usually means spring after the ground has thawed and dried. Use the squeeze test instead of the calendar, and avoid tilling wet, frozen or very dry soil.
How deep should I till a vegetable garden?
About 6 to 8 inches for a new bed, and about 2 to 4 inches for routine seedbed preparation. Go deeper in stages rather than in a single pass on hard soil.
Is it bad to till too often?
Yes. Frequent deep tilling breaks soil structure, harms earthworms, brings weed seeds to the surface and can form a hard pan below the tines. Till only when the job needs it.
Can I till wet soil?
No. Wet soil smears and compacts, and dries into hard clods. Wait until it crumbles when squeezed.
Should I till in autumn or spring?
Both can work. Autumn lets frost break clods over winter, and spring tilling prepares the bed for planting. Cover tilled soil with mulch or a cover crop to protect it.
Do I need to till every year?
No. Many gardeners till once to establish a bed, then use light cultivation or no-dig methods for upkeep, which preserves soil structure and reduces weeds.
Bottom line
Let the soil tell you when. Use the squeeze test, and till only when the soil crumbles instead of smearing or turning to dust. Go about 6 to 8 inches for a new bed and 2 to 4 inches for upkeep, build depth in stages, and avoid tilling more often than you must.
Add compost, protect the soil with mulch and keep the machine suited to the plot. A gardener who tills less, but at the right time, ends up with better soil and fewer weeds than one who tills every spring out of habit.