

Start with the day, not the panel
An RV solar system should be sized around what happens between one morning and the next. The roof does not need enough panels to match every appliance nameplate at once. It needs enough useful daily production to replace the energy removed from the battery, while the battery and inverter handle the moment to moment loads.
This distinction prevents a common sizing error. A traveler adds the watts printed on a refrigerator, water pump, lights, laptop charger, television, and coffee maker, then buys an array with the same watt number. That total describes a hypothetical simultaneous power demand. It does not describe daily energy. A small load running all day can consume more energy than a large load used for a few minutes.
The practical process begins with watt hours. Record each load, estimate how long it operates during a representative day, and calculate its energy. Then adjust for losses and the conditions in which the RV will actually travel. Only after that work should panel watts enter the conversation.
Define the trip before calculating
The same RV can need very different solar capacity on different trips. A summer weekend with campground hookups is not the same design case as a week of shoulder season boondocking. Before listing appliances, define the operating boundaries.
Record the typical season, region, parking pattern, and length of time away from shore power. Note whether the RV moves every day, because alternator or vehicle charging may restore energy. Decide whether a generator or portable power station is part of the backup plan. Identify loads that can be shifted into daylight and loads that must operate overnight.
Also decide what solar is expected to accomplish. One system may only maintain a house battery and support lights, fans, and electronics. Another may need to replace a full day of refrigeration, communications, entertainment, and water use. A third may be expected to support an electric cooking routine. Those are different projects even if the RVs have the same roof area.
Write the design statement in one sentence. For example: the system must replace a typical day's essential energy by late afternoon in fair summer weather, with enough battery reserve for one low production day. This statement gives every later compromise a reference point.
Build an RV load inventory
Walk through the RV and list every device powered by the house electrical system. Separate direct current loads from alternating current loads supplied through an inverter. Include equipment that is easy to overlook: propane refrigerator controls, detectors, router, tank monitors, stereo memory, inverter idle draw, controller consumption, and charging adapters.
For each load, find a credible power value. The equipment label or manual is preferable. If only volts and amps are provided, watts are approximately volts multiplied by amps. A measured value can be useful when obtained with an appropriate meter and safe method, but cycling appliances require observation over time rather than one instant reading.
Next estimate daily operating time. Lights may be listed in hours. A pump is better estimated in minutes. A refrigerator or furnace fan cycles automatically, so its daily energy depends on ambient temperature, thermostat setting, insulation, ventilation, and user behavior. Use a conservative trip specific estimate instead of assuming that the running draw continues for 24 hours.
Calculate daily watt hours
For a steady load, multiply watts by hours of use. A 20 watt device used for five hours consumes 100 watt hours. For use stated in minutes, divide the minutes by 60 before multiplying. Add the results for every load to obtain the base daily energy budget.
For a cycling load, use its average daily energy when credible documentation or measured history is available. If the appliance draws 60 watts while operating and is expected to run for a combined eight hours across the day, its estimated consumption is 480 watt hours. This is different from claiming it runs continuously.
Alternating current loads require an inverter, which consumes energy while converting battery direct current to AC. The battery must therefore supply more energy than the appliance receives. Inverter efficiency changes with load, and idle draw can become significant when the inverter remains on for long periods. Use the relevant manufacturer information and include a reasonable conversion allowance.
The detailed distinction between power and energy is explained in watt hours explained. In this RV calculation, watts determine whether equipment can operate at a given moment, while watt hours determine how much energy must be restored each day.
| Load group | Best planning unit | RV sizing note |
|---|---|---|
| Lighting and electronics | Watts multiplied by hours | Include charging losses and devices left in standby |
| Water pump | Watts multiplied by daily minutes | Usage varies with occupants and water habits |
| Compressor refrigerator | Measured or documented daily energy | Duty cycle changes with weather and ventilation |
| Furnace blower | Average current across expected run time | Cold nights can make this a dominant load |
| Inverter appliances | Appliance energy plus conversion loss | Include inverter idle consumption where relevant |
| Air conditioner | Dedicated operating scenario | High draw can dominate both array and battery sizing |
Add system losses without double counting
Energy is lost in several stages. Panels operate away from nameplate conditions, wiring has resistance, the controller converts voltage, batteries lose energy during charging and discharging, and an inverter adds another conversion step for AC loads. Dirt, mismatch, shade, and hot cell temperature reduce harvest further.
Do not apply every generic loss percentage found online and multiply them blindly. Some planning tools already include default system losses. Some battery specifications state usable capacity rather than nominal capacity. A power station may publish AC output capacity after conversion, while another lists only cell energy. Read definitions so the same loss is not counted twice.
For a worksheet, keep the load budget and generation allowance separate. First estimate the energy the loads actually require from the battery. Then size the array with a conservative production factor that reflects real operating conditions. This makes it easier to update one side when a load changes or a new travel season is considered.
Translate daily energy into panel watts
Panel sizing uses the daily energy target and the equivalent full sun available during the design season. Peak sun hours are not the number of daylight hours. They express the day's solar irradiation as the equivalent number of hours at 1,000 watts per square meter.
A planning estimate divides the daily energy that must be restored by the expected peak sun hours, then adjusts for system losses. If the loads require 1,200 watt hours from the battery and the site provides four equivalent peak sun hours, the ideal arithmetic begins at 300 watts of panels. The installed array must be larger when temperature, orientation, controller, wiring, and charging losses are included.
Use location and month specific solar resource data rather than a national average. Winter production can be far below summer production. An RV also parks where campsites allow, not always where a fixed solar designer would choose. Trees, neighboring rigs, mountains, and roof equipment can reduce the useful solar window.
The result is an energy planning value, not a promise that the array will hold its rated watts for that number of hours. Panel ratings are measured under standard test conditions, and real modules commonly operate hotter and under lower irradiance. The companion article on solar panel output explains why nameplate watts and field watts differ.
Check the roof before finalizing the array
An arithmetic result must fit the RV. Measure the usable roof, not the total roof. Exclude vents, skylights, air conditioners, antennas, roof rack parts, curved edges, service paths, and areas that the RV manufacturer does not approve for mounting. Include installation clearances and access for future maintenance.
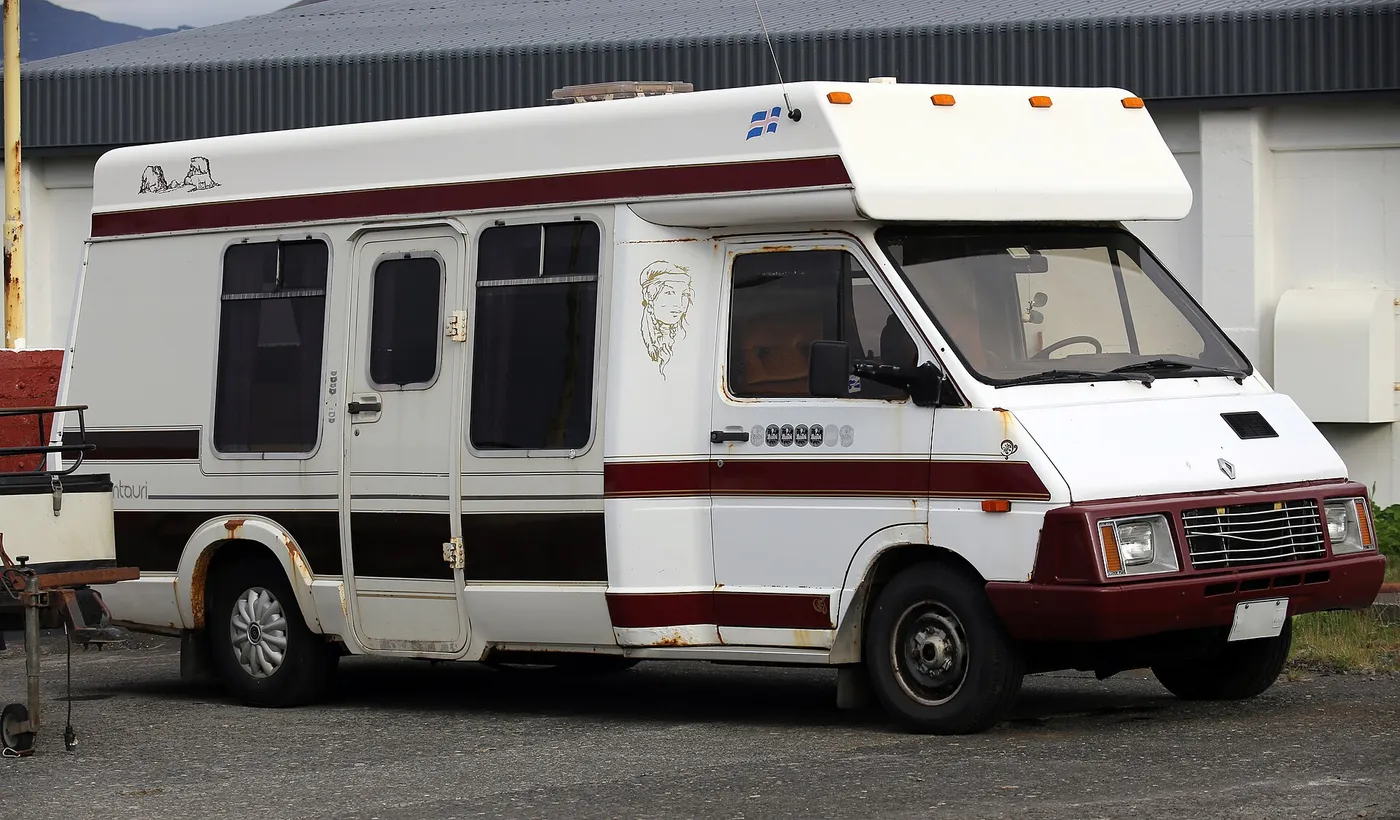
Map shadows at different sun angles. A vent casting a narrow morning shadow may affect one cell group. An air conditioner can shade a larger area when the sun is low. Panel placement should minimize recurring shade before additional wattage is used to compensate for it.
After estimating array size, compare real products in the best RV solar panels guide. If the project begins from a packaged component set, the best RV solar panel kits guide can help identify candidates, but kit inclusion does not prove that every component fits the calculated design.
Match battery capacity to the energy budget
The array replaces energy, while the battery carries loads when production is low or absent. Size the battery from daily consumption, allowable depth of discharge, desired reserve days, discharge current, temperature behavior, and the manufacturer's limits.
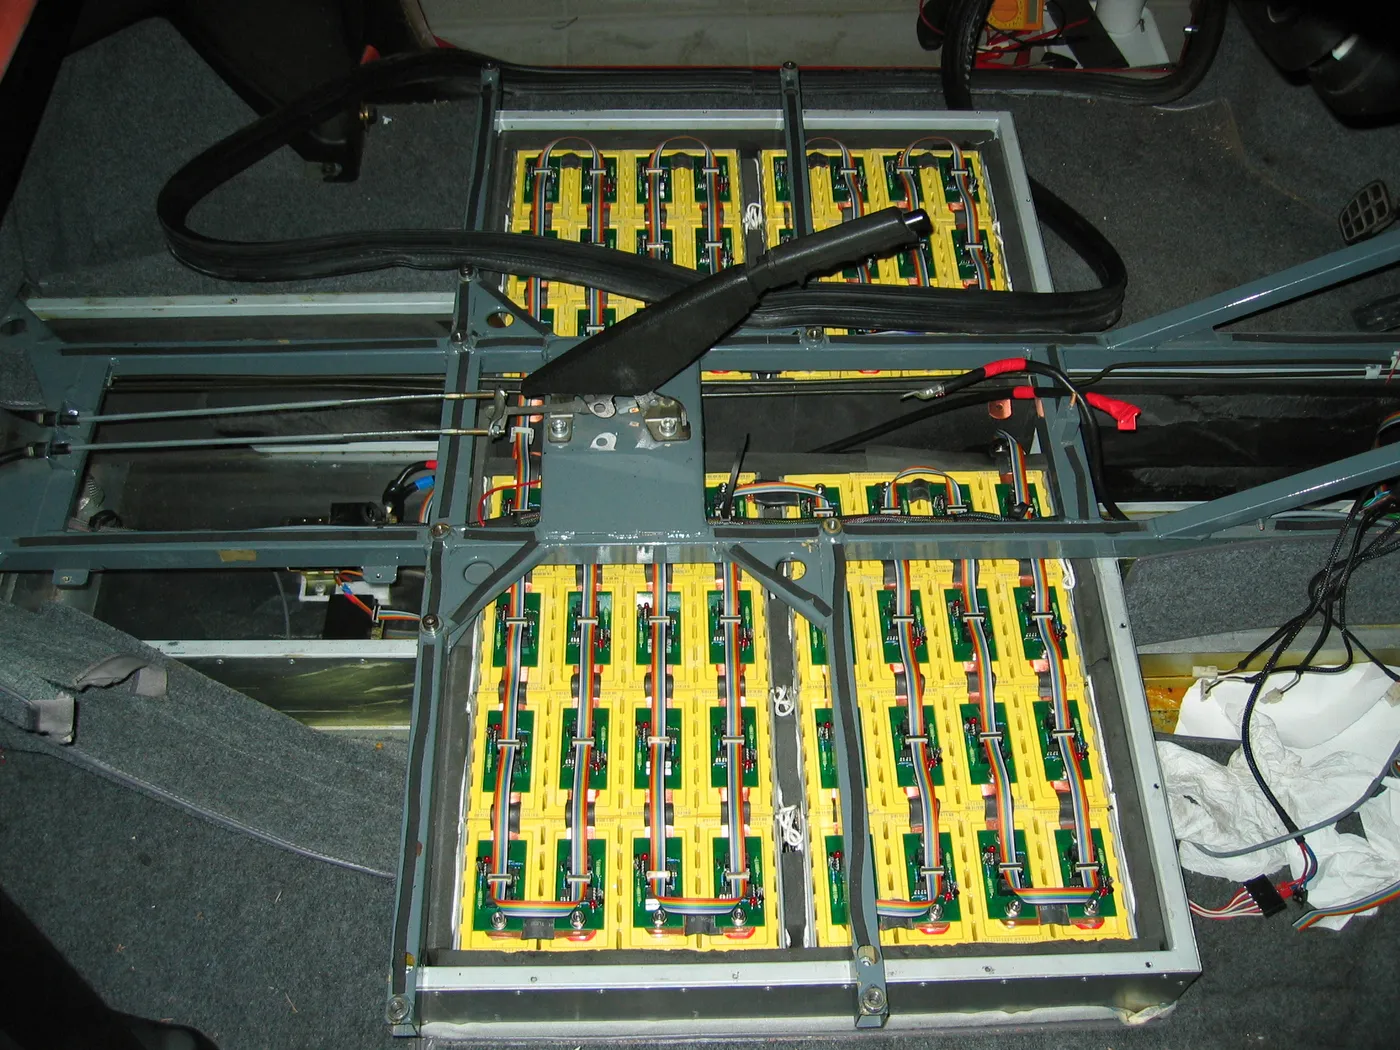
A nominal battery rating is not automatically usable energy. Chemistry, battery management settings, voltage cutoffs, age, temperature, and discharge rate affect what can be delivered. A lead acid bank is often planned with a shallower routine discharge than a lithium iron phosphate bank because depth of discharge affects cycle life differently. Use the battery manufacturer's cycle and capacity documentation.
Battery voltage also changes current. For the same power, a higher voltage bank carries less current, which can reduce conductor demands, but it requires compatible equipment. The design implications are explained in 12V vs 24V vs 48V systems. Do not change system voltage without checking every connected load and charging source.
Size the controller from electrical limits
The charge controller must accept the array and charge the selected battery correctly. This is not determined by array watts alone. Check the controller's maximum photovoltaic input voltage against the array open circuit voltage at the coldest expected temperature. Panel open circuit voltage rises in cold conditions, so using only the standard test value can understate the maximum.
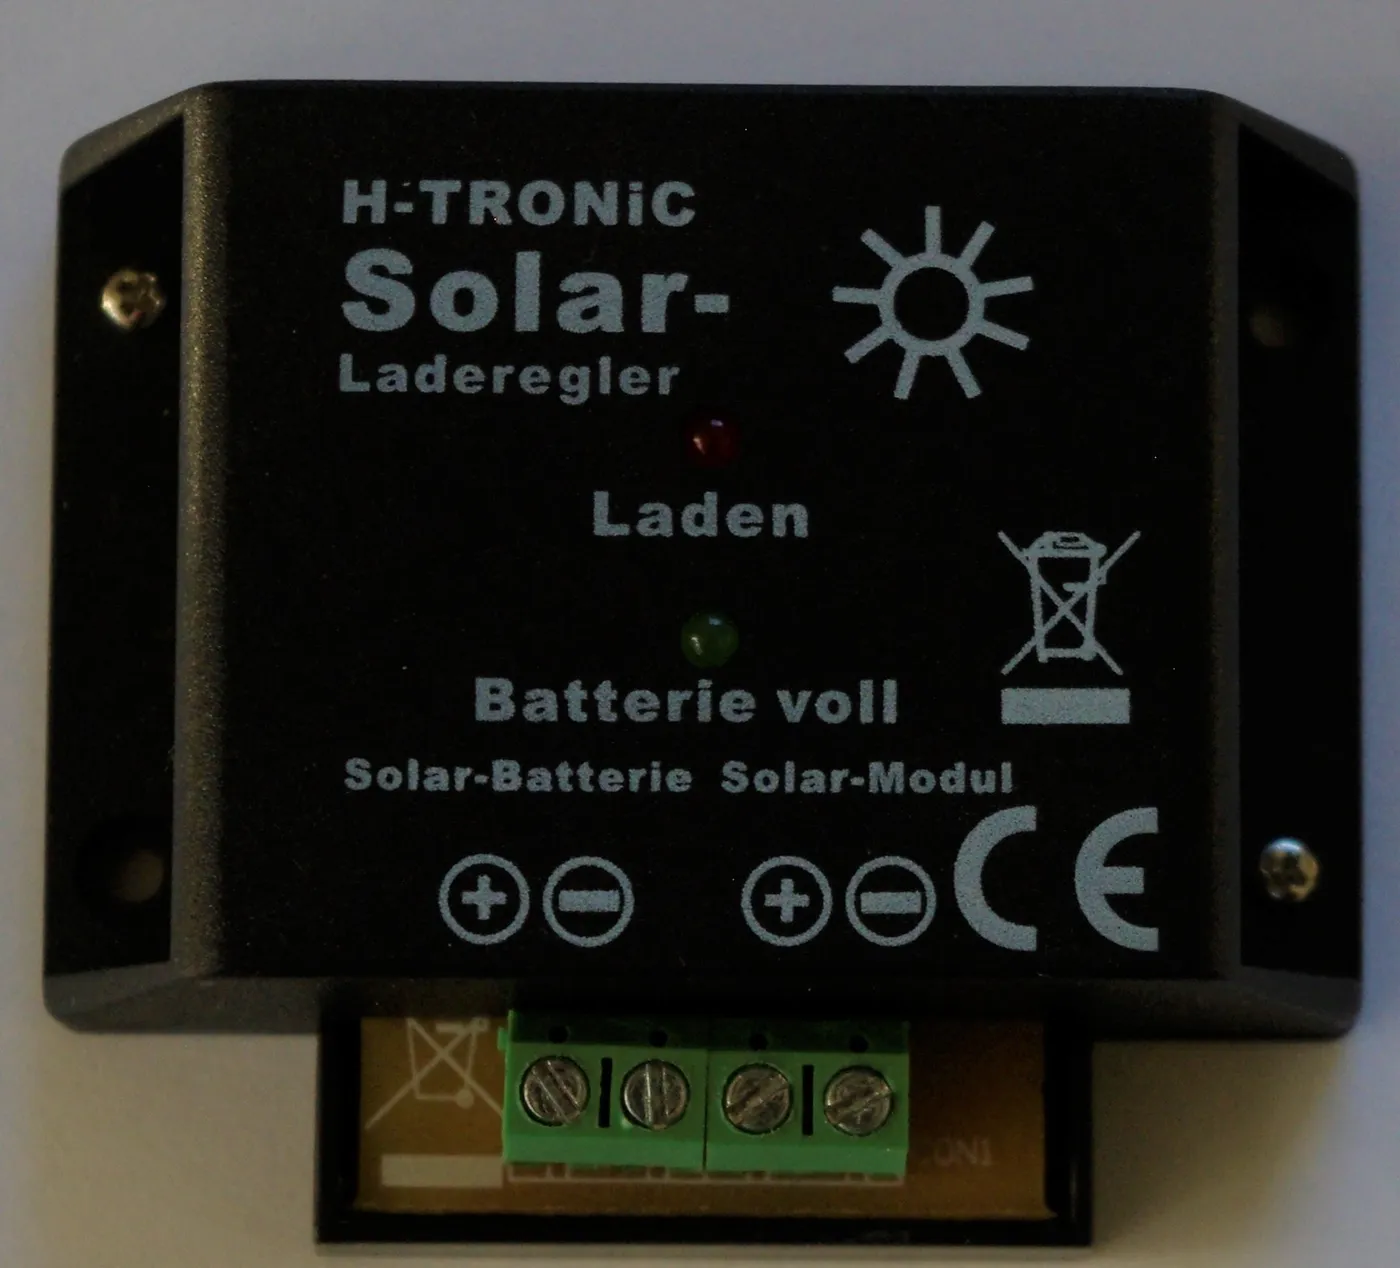
Check input short circuit current and the effect of parallel strings. Then check the controller's rated output current at the battery voltage. An MPPT controller can receive a higher array voltage and convert that power into a larger charging current at the lower battery voltage. Each limit must be evaluated separately using the manufacturer instructions.
Also confirm the controller supports the battery chemistry and required charging profile. A controller labeled for the correct nominal voltage can still have unsuitable absorption, float, low temperature, or communication behavior. Lithium systems may require coordination with a battery management system.
Leave controller calculations to the article on how to size a solar charge controller rather than compressing them into one watts divided by volts shortcut. In this RV system worksheet, the controller check is a gate: if the planned array exceeds any input or output limit, revise the configuration or select suitable equipment.
Separate inverter sizing from solar sizing
Solar array watts do not set inverter watts. The inverter is sized from the AC loads that may operate together, their starting surges, waveform requirements, and the direct current the battery can safely deliver. A small array can charge a battery slowly while a large inverter supplies a brief heavy load. The energy must later be replaced, but the two ratings serve different jobs.
List the realistic simultaneous AC loads. Add continuous watts and the most demanding relevant surge. Confirm the battery, cables, fuse, disconnect, and inverter can support the resulting current. The method is covered in how to size an inverter.
Avoid using an oversized inverter as a substitute for planning. Larger units may have higher idle draw and require heavier conductors. Conversely, an undersized inverter can overload when a compressor or motor starts. Inverter selection belongs beside, but not inside, the solar harvest calculation.
Treat air conditioning as a separate case
Air conditioning can transform an RV solar design. The compressor has a substantial continuous demand, may have a starting surge, and often runs during the hottest period when panel cell temperature is elevated. A general appliance budget that casually adds a few hours of air conditioner nameplate watts can create a misleading design.
Build a separate cooling scenario using the actual unit, expected duty cycle, climate, insulation, interior volume, thermostat setting, and inverter or direct current arrangement. Check whether the roof still has adequate area after the air conditioner occupies its footprint and casts shade.
If the resulting array and battery are impractical, change the operating goal. Solar may support fans, electronics, refrigeration, and the house loads while a campground hookup or generator handles compressor cooling. Alternatively, cooling may be limited to a defined daylight window. This is an operational decision, not a failure of the arithmetic.
Include other charging sources honestly
Many RVs charge from more than solar. Shore power, an alternator charger, a generator, or a portable power station can contribute. Include these sources only when they will reliably be available in the travel pattern.
Alternator energy depends on drive time, charger rating, vehicle electrical limits, battery acceptance, and thermal conditions. A high charger rating does not guarantee that output throughout a trip. Shore power is dependable at a serviced site but irrelevant during remote stays. Generator charging depends on fuel, permitted operating hours, charger capacity, and safe outdoor use.
A portable unit can provide another energy buffer, but it also needs recharging. The best RV solar generators guide can help compare integrated battery systems where they suit the plan. Do not count the same solar panel energy once as roof production and again as power station charging.
Design for recovery, not just survival
A system may survive one cloudy day yet fail to recover afterward. If the battery begins the next clear morning at a low state of charge, the array must serve the active daytime loads and restore the deficit. An array sized only to match a normal day's consumption may never catch up.
Set a recovery goal. Decide how many favorable solar days should restore the planned reserve after a poor weather event. Faster recovery requires additional array capacity, lower loads, another charging source, or some combination. The appropriate answer depends on travel flexibility and the consequences of running short.
Track actual performance after installation. Record morning and evening battery state, solar harvest, major loads, weather, and charging from other sources. Compare these records with the original worksheet. If daily consumption is higher than planned, identify the load rather than assuming the panel rating is false.
RV solar safety and installation limits
Solar modules produce voltage whenever illuminated. Battery banks can deliver extremely high fault current. Use equipment rated for the system voltage and current, correctly placed overcurrent protection, suitable disconnects, protected conductors, and connectors approved for the application.
Cold weather can raise array open circuit voltage above the value printed at standard test conditions. Never exceed the controller's maximum input voltage. Parallel strings increase available current and may change protection requirements. Follow the panel, controller, battery, inverter, and RV manufacturer instructions as a coordinated system.
Roof penetrations must be structurally suitable and sealed with compatible materials. Cables should be supported against vibration and protected from sharp metal, heat, ultraviolet exposure, and moving equipment. Do not route photovoltaic conductors through a refrigerator flue or another hot service cavity unless the installation documents explicitly provide an approved method.
Batteries need secure mounting and the environment required by their chemistry. Lead acid batteries can release gas under certain charging conditions. Lithium batteries require a compatible battery management system and temperature aware charging. If structural, electrical, or code requirements are uncertain, use a qualified RV solar installer.
A repeatable sizing workflow
First, define the travel season, location, days away from hookups, other charging sources, and reserve target. Second, create separate normal and demanding daily load budgets in watt hours. Third, account for inverter and other system consumption without counting the same loss twice.
Fourth, use location and month appropriate solar resource data to estimate the array required to replace daily energy. Fifth, lay actual panel dimensions onto the usable roof and revise for shade, service clearance, structure, and cable paths. The best 100 watt RV solar panels guide is useful when smaller modules fit around roof obstacles better than large formats.
Sixth, size the battery from usable energy, reserve days, chemistry limits, temperature, and required current. Seventh, verify controller input voltage in cold weather, input current, output current, battery profile, and power limits. Eighth, size the inverter and protection from simultaneous AC loads and surge.
Finally, test the operating plan in stages. Confirm charging sources, monitor voltage and temperature, and add loads deliberately. Record actual daily energy so the worksheet becomes a living model of the RV rather than a one time estimate.
Frequently asked questions
How many watts of solar does an RV need?
There is no universal watt value. Calculate daily battery energy use in watt hours, estimate seasonal peak sun hours, adjust for real system losses, and then check whether the resulting array fits the usable roof. Two RVs with the same size can have very different loads and travel patterns.
Should the array be sized from battery amp hours?
Battery capacity helps define storage and charging limits, but it does not reveal daily consumption by itself. Size the array primarily from the energy that must be replaced each day, then confirm that the controller and battery can accept the planned charging current.
Can a 100 watt panel run an RV?
A panel does not directly define which loads can run. It contributes energy to the battery through a controller. A 100 watt module may support a small essential budget in favorable conditions, but real daily harvest varies with sun, temperature, shade, orientation, and losses.
How much battery reserve should an RV carry?
Choose reserve from essential daily energy, expected poor weather, alternate charging access, weight, space, and battery chemistry. A traveler who can move to hookups needs less autonomy than one staying remotely for several days.
Can RV solar run an air conditioner?
It can in a sufficiently large, compatible system, but cooling can dominate array, battery, inverter, and roof requirements. Model the specific air conditioner as a separate operating scenario and verify continuous demand, surge, duty cycle, and recovery energy.
Is an RV solar kit already sized correctly?
No. A kit groups components, but it cannot know the RV's daily loads, roof area, climate, battery, travel season, or reserve goal. Verify every component and electrical limit against the completed design.
Bottom line
Size an RV solar system from daily energy, not from a favorite panel wattage or the sum of appliance nameplates. Define the trip, build honest watt hour budgets, allow for real solar conditions, and choose an array that can replace the expected use with a practical recovery margin. Then verify roof fit, shade, battery capacity, controller limits, inverter demand, protection, and alternate charging. The result should be a coordinated operating plan that keeps essential loads supplied under the conditions the RV will actually encounter.